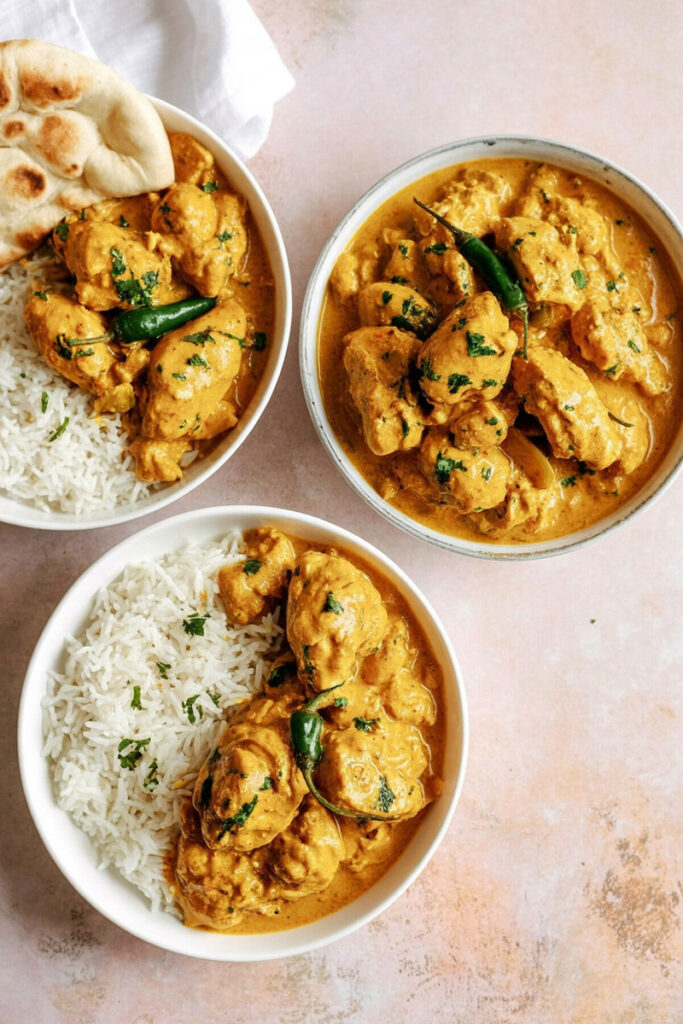
Welcome! I’m so glad you’re here. Today, I’m sharing a recipe that’s really close to my heart: Boneless Chicken Handi.
If you’re anything like me, you sometimes crave a chicken curry that’s super creamy and full of flavor, but you don’t want to spend hours in the kitchen. This is that recipe. It’s the one I make when I want something comforting on a Tuesday night but also special enough to serve when friends come over.
You might be wondering, what’s a “Handi”? It’s just the name of a traditional clay pot they use in India and Pakistan for slow-cooking. The pot helps all the flavors melt together perfectly. But don’t worry, you don’t need one! I figured out how to get that same rich, deep flavor using a regular wok or a heavy pot.
This recipe is my personal mash-up of the best restaurant versions I’ve ever tasted and some clever tricks I’ve picked up over the years. It’s simple, I promise.
So, grab your apron. Let’s make something amazing together.
Your Cooking Game Plan
Before we jump in, let’s quickly walk through what’s ahead. We’re going to build up the flavors layer by layer. It sounds fancy, but it’s really just a few simple stages. And the result? Spectacular.
You’ll need about 40 minutes from start to finish. Most of that is just letting things simmer and do their thing. The actual hands-on work is pretty quick, making it perfect for a weeknight.
This recipe makes enough for 4 people. But what if you have more people coming over? The good news is, it’s super easy to double. I even made a little chart to help you out. Just make sure you use a bigger pot!
I’d say this is an easy to medium recipe. The steps are straightforward. The only real “trick” is being patient while the onion paste cooks down. It’s a great recipe if you’re looking to dip your toes into making curries from scratch.
Scaling Your Chicken Handi
| Servings | Chicken | Onions | Yogurt | Cashews | Tomato Paste |
| 2 | 0.6 lbs | 1 medium | 1.5 tbsp | 6 | 2 tbsp |
| 4 (This Recipe) | 1.2 lbs | 2 medium | 3 tbsp | 12 | 4 tbsp |
| 8 | 2.4 lbs | 4 medium | 6 tbsp | 24 | 8 tbsp |
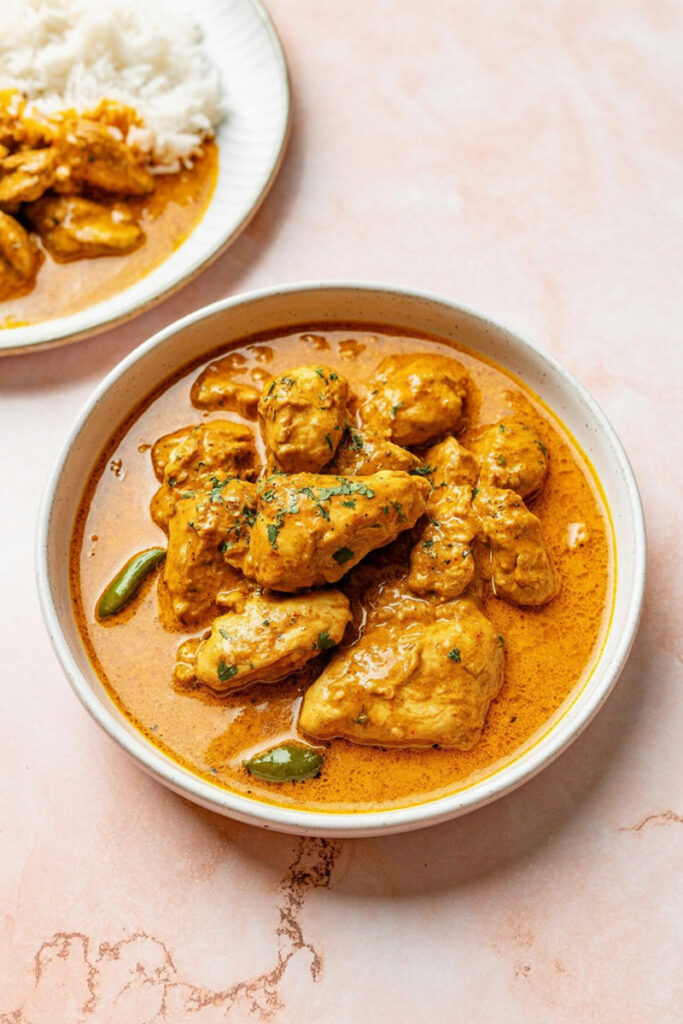
The Ingredients: What You’ll Need
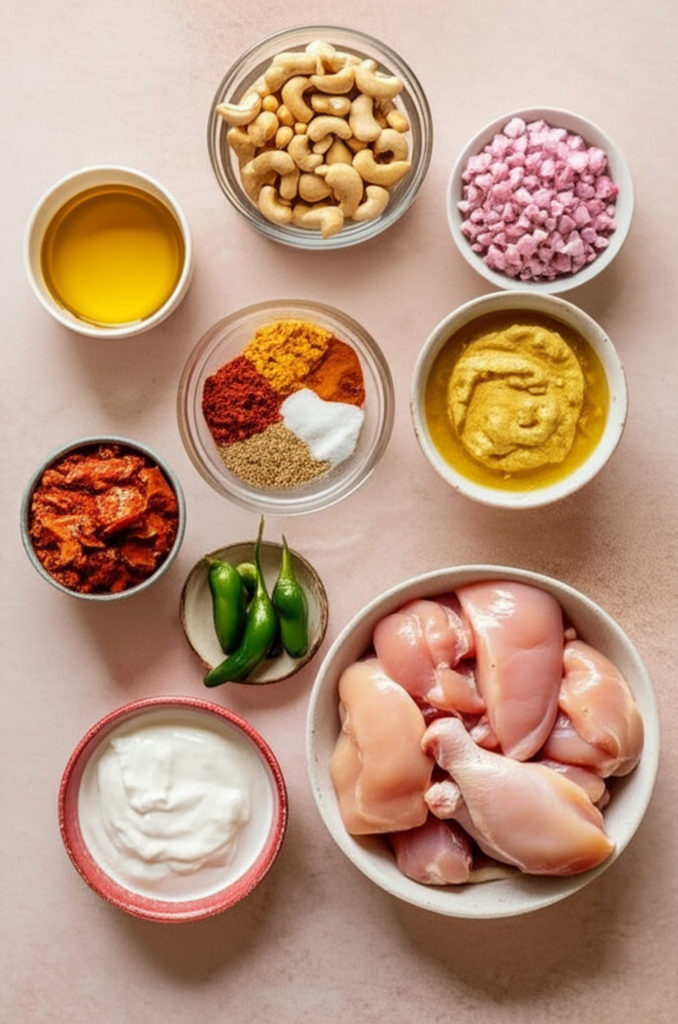
Great food starts with great ingredients. Let’s break down our flavor toolkit.
For the Creamy Base:
This is where the magic happens.
- 2 medium red onions: I like red onions because they get a little sweet when you cook them down, which is perfect for this curry. We’ll turn these into a puree.
- 3 tablespoons full-fat yogurt & 12 cashews: This combo is our secret weapon for a rich, creamy sauce without using heavy cream. Just soak the cashews in some warm water for about 15 minutes first. This helps them blend up into a silky paste. And please use full-fat yogurt! It makes a huge difference and won’t split when it hits the heat.
The Main Event:
- 1.2 lbs boneless, skinless chicken breast: Cut it into bite-sized pieces. It cooks fast and soaks up all that amazing flavor. If you’re a fan of dark meat, chicken thighs work great too. They’re a bit juicier, so just cook them for a few extra minutes.
- 5 tablespoons neutral cooking oil: Something like canola or vegetable oil.
- 3 teaspoons ginger-garlic paste: This is the heart and soul of so many South Asian dishes. You can’t skip it!
The Spices:
This is what gives our Handi its personality.
- 1 tbsp coriander powder
- 1 tsp red chilli powder (use more or less depending on how spicy you like it)
- ½ tsp turmeric powder
- ½ tsp cumin powder
- ½ tsp white pepper powder (it has a different kind of kick than black pepper!)
- 1 tsp sea salt
The Finishing Touches:
- 4 tablespoons tomato paste: This gives us a deep tomato flavor without making the gravy watery.
- 3 Thai green chillies: We’ll just slit them lengthwise to release their flavor without too much heat.
- 1 tablespoon fresh, chopped cilantro: For that burst of freshness at the end.
Step-by-Step: Let’s Get Cooking
Okay, time for the fun part. I’ll be right here with you, step by step.
Step 1: Make Your Silky Pastes
First, let’s make the two pastes that are the secret to that amazing texture.
Toss your chopped onions into a blender and blitz them into a puree. It doesn’t have to be perfectly smooth. Set that aside in a bowl.
Now, in the same blender (no need to wash it!), add the soaked cashews and the yogurt. Blend until you have a completely smooth, creamy paste. This is your creaminess-maker! Set it aside too.
Step 2: Build the Flavor Base
This is the most important step. Don’t rush it.
Heat the oil in your wok or pot over medium heat. When you see it shimmer, carefully add the onion puree and the ginger-garlic paste. It’s going to sizzle a lot! Give it a stir, pop a lid on, and let it cook on low-medium heat for about 10 minutes.
You’re cooking out that raw onion taste and building a deep, sweet foundation. You’ll need to stir it every couple of minutes so it doesn’t stick. You’ll know it’s ready when the watery paste has turned into a thick, almost jam-like blob.
Step 3: Add the Chicken and Spices
Once the onion base looks right, turn the heat up to medium.
Add the chicken pieces and all your powdered spices—coriander, chilli, turmeric, cumin, white pepper, and salt. Stir everything really well, making sure every piece of chicken is coated in that beautiful masala.
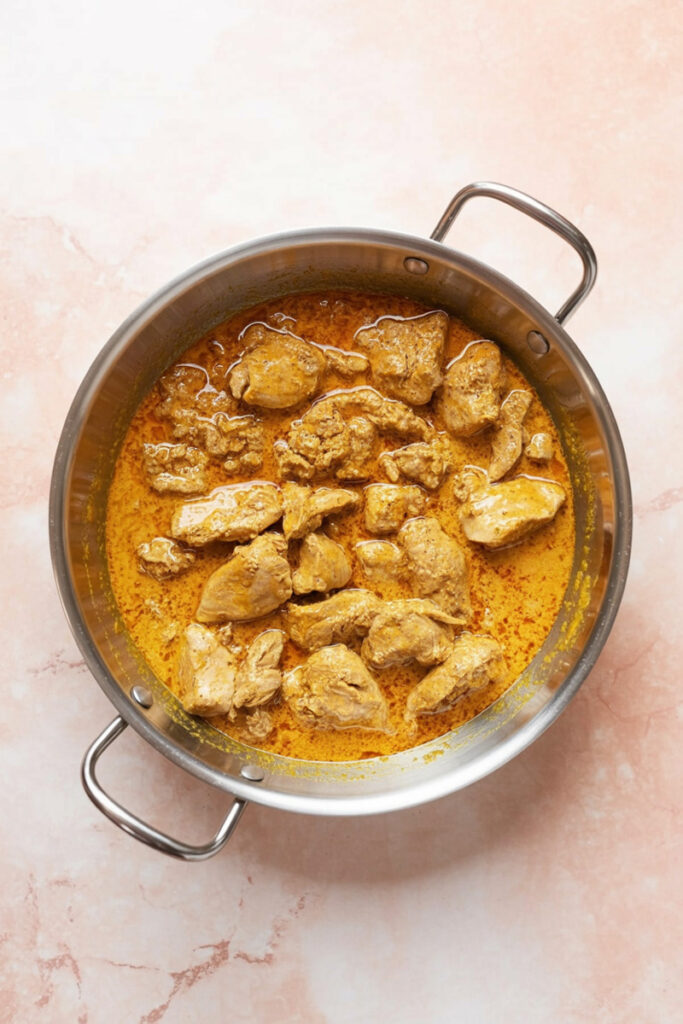
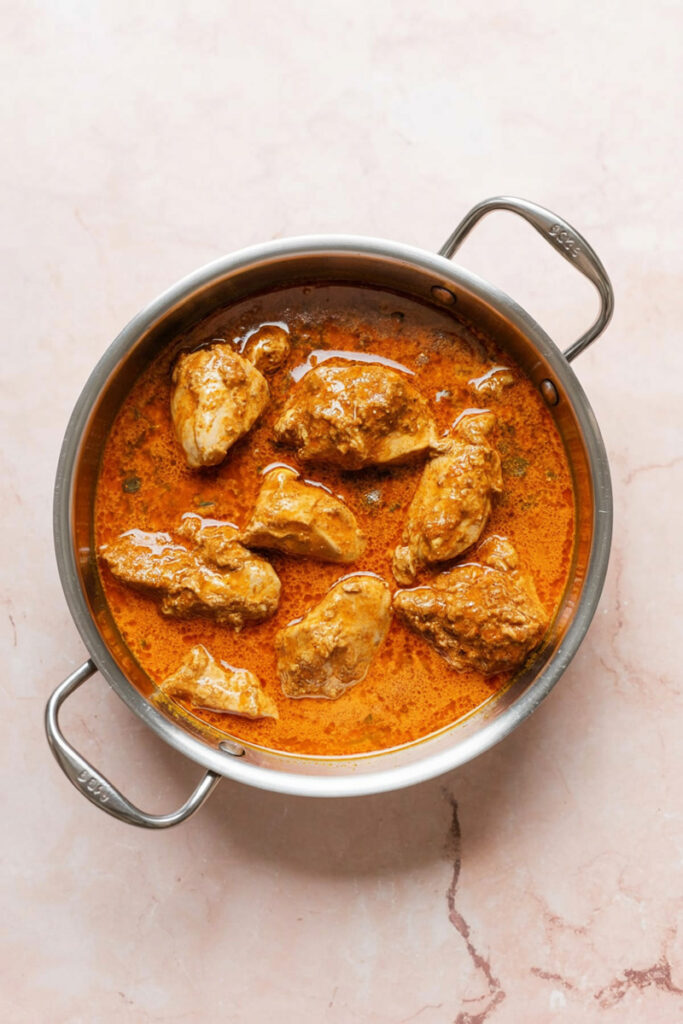
Cook for 10 minutes, stirring often. You’ll see the oil start to separate from the masala and pool at the edges. That’s the sign that you’ve done it perfectly! The whole thing will look glossy and smell incredible.
Step 4: The Creamy Finale
Almost there!
Add the tomato paste, that lovely yogurt-cashew paste, and the slit green chillies. Turn the heat up to high and fry it all for 5 minutes, stirring the whole time.
Now, lower the heat back down and pour in ½ cup of water. Give it one last big stir to bring it all together.
Cover the pot and let it simmer gently for 10 more minutes. This last simmer makes the chicken unbelievably tender.
Take off the lid. Look at that gorgeous curry! Sprinkle over the fresh cilantro, and you’re done.

Make It Your Own
I love when people play with my recipes. Here are a few ideas:
- Extra Rich: For a truly decadent version, stir in 2-3 tablespoons of heavy cream right at the end, just before serving.
- Change the Heat: Love spicy? Add more chilli powder or an extra green chilly. Want it milder? Cut back a bit. If you want that beautiful red color without the fire, use Kashmiri red chilli powder.
- Dairy-Free? No Problem. You can use a plain, unsweetened dairy-free yogurt (coconut yogurt works well) instead of the regular yogurt.
Serving and Storing
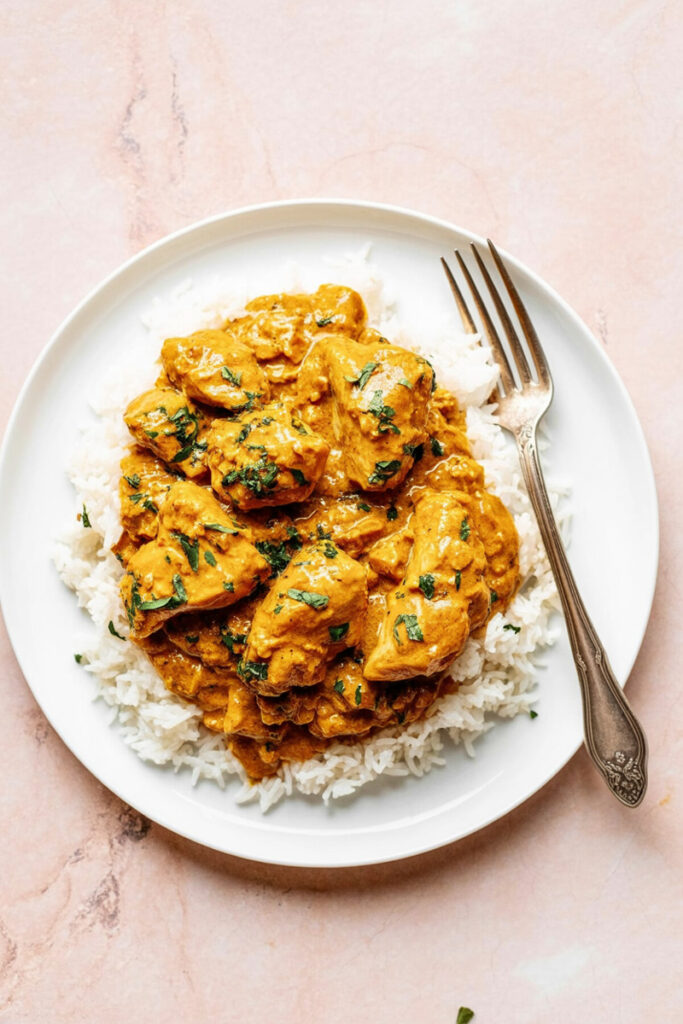
This Chicken Handi is best served steaming hot. I love to spoon it into a bowl and serve it with fluffy basmati rice or warm naan bread. The bread is essential for mopping up every last drop of that sauce!
Got leftovers? Lucky you! Store them in an airtight container in the fridge for up to 3-4 days. Honestly, I think the flavors get even better the next day. Just reheat it gently on the stove. I’d avoid the microwave, as it can make the chicken a bit rubbery.
I really hope you enjoy making this. Happy cooking!
PrintBoneless Chicken Handi
This isn’t your average chicken curry! It’s a rich, creamy, and surprisingly simple Boneless Chicken Handi you can whip up on a weeknight. The secret? A silky cashew and yogurt sauce that makes it taste like it came from a top-notch restaurant. Perfect for scooping up with warm naan!
- Prep Time: 5 minutes
- Cook Time: 35 minutes
- Total Time: 40 minutes
- Yield: 4 people 1x
- Category: Main Course
- Cuisine: North Indian / Pakistani
Ingredients
Chicken & Base
- 1.2 lbs boneless, skinless chicken breast, cut into bite-sized pieces
- 2 medium red onions, roughly chopped
- 5 tbsp neutral oil
- 3 tsp ginger-garlic paste
- 4 tbsp tomato paste
Creamy Paste
- 12 cashews, soaked in warm water for 15 mins
- 3 tbsp full-fat yogurt
Spices & Aromatics
- 1 tbsp coriander powder
- 1 tsp red chilli powder (or to taste)
- ½ tsp turmeric powder
- ½ tsp cumin powder
- ½ tsp white pepper powder
- 1 tsp sea salt
- 3 Thai green chillies, slit lengthwise
- ½ cup water
- 1 tbsp fresh cilantro, chopped (for garnish)
Instructions
- Make the Pastes: First, blend the onions into a puree and set aside. In the same blender, blitz the soaked cashews and yogurt until completely smooth.
- Cook the Base: Heat oil in a wok or pot over medium heat. Add the onion puree and ginger-garlic paste. Cover and cook on low-medium for 10 minutes, stirring occasionally, until it forms a thick, jam-like paste.
- Sauté Chicken & Spices: Turn heat to medium. Add the chicken, all powdered spices, and salt. Stir-fry for 10 minutes until the chicken is coated and you see oil separating from the masala.
- Simmer to Perfection: Stir in the tomato paste, the cashew-yogurt paste, and the slit green chillies. Cook on high for 5 minutes. Pour in ½ cup of water, stir, then cover and simmer on low for a final 10 minutes until the chicken is tender.
- Garnish & Serve: Garnish with fresh cilantro and serve immediately.
Notes
Tips & Tricks
- Don’t rush the onions! Letting the onion paste cook down properly for the full 10 minutes is the key to a deep, rich flavor.
- For an even creamier sauce, use full-fat yogurt. It prevents the sauce from splitting when heated.
- Want a brighter red color without extra heat? Use Kashmiri red chilli powder.
Serving Suggestions
- This dish is amazing with fluffy basmati rice, warm naan, or roti for scooping.
- A simple side salad of cucumber, tomato, and onion adds a nice, fresh crunch.
Storage & Reheating
- Store leftovers in an airtight container in the fridge for up to 3 days. The flavor is often even better the next day!
- Reheat gently on the stovetop. Add a splash of water or milk if the gravy has thickened too much.
