Hey there! Let’s talk about comfort food.
For me, there are few things that feel more like a warm hug than a big bowl of Chana Masala. If you’ve ever smelled this chickpea curry simmering, you know what I mean. It’s that rich, spicy, and tangy aroma that just fills the whole house. It’s a dish that’s everywhere in India, from bustling street food stalls to cozy family dinners.
This recipe is all about getting that deep, soulful flavor without spending hours in the kitchen. It’s inspired by the classic dishes from Punjab in Northern India, but we’re making it work for our busy lives.
The best part? It comes together in about 30 minutes.
So, if you want a meal that tastes like it’s been simmering all day but is ready in a flash, you’re in the right place. Let’s get cooking.
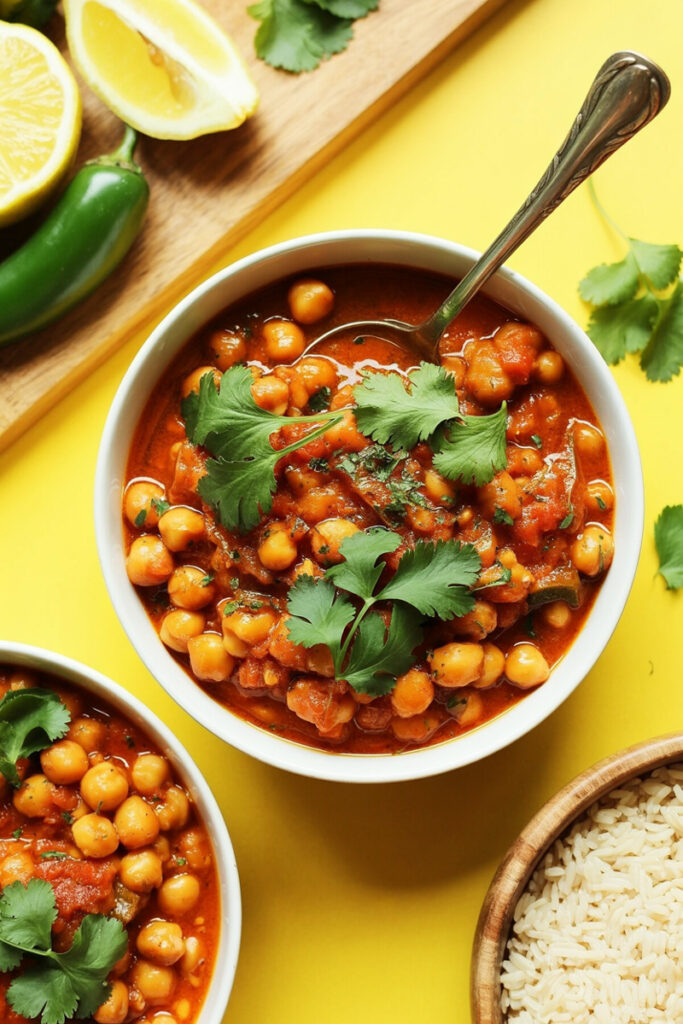
Your 30-Minute Game Plan
Before we start chopping and stirring, here’s a quick rundown of what to expect. This recipe is designed to be foolproof. Seriously.
- Prep Time: 5 minutes
- Cook Time: 25 minutes
- Total Time: A delicious meal in just 30 minutes!
- Servings: Makes enough for 6 people. It also halves really well if you’re cooking for one or two.
- Difficulty: Easy. If you can stir things in a pot, you can make this. I promise.
- Equipment: Nothing fancy needed! Just a large pot or a Dutch oven. If you have a mortar and pestle, great! If not, a small food processor or even just a knife will do the trick.
This dish is also a meal-prepper’s dream. I actually think the flavors get even better the next day. Make a big batch on Sunday and you’ve got amazing lunches for the week.
Cooking for a different number of people? No problem. Here’s a quick cheat sheet:
| Servings | Oil | Onion | Canned Tomatoes | Canned Chickpeas |
| 3 (Half Batch) | 1.5 Tbsp | 1/2 medium | 1 (15-oz) can | 1 (15-oz) can |
| 6 (Original) | 3 Tbsp | 1 medium | 1 (28-oz) can | 2 (15-oz) cans |
| 12 (Double Batch) | 6 Tbsp | 2 medium | 2 (28-oz) cans | 4 (15-oz) cans |
The Heart of the Matter: Your Ingredients
The magic of this dish comes from a beautiful blend of simple ingredients. Here’s what you’ll need to grab:
- Oil: 3 tablespoons of a neutral oil (like grapeseed or coconut).
- Onion: 1 medium white or yellow onion, finely diced.
- Cumin: 1 tablespoon of ground cumin.
- Salt: 3/4 teaspoon of sea salt, which we’ll use in a couple of steps.
- Garlic: 6 cloves, minced.
- Ginger: 2 tablespoons of fresh ginger, minced.
- Cilantro: About 1/2 cup of fresh cilantro, chopped.1
- Green Chilies: 2-3 fresh green chilies (like serrano peppers), sliced.
- Coriander: 1 tablespoon of ground coriander.
- Chili Powder: 1 teaspoon of chili powder.
- Turmeric: 1 teaspoon of ground turmeric.
- Tomatoes: A 28-ounce can of puréed or crushed tomatoes. My secret weapon is the Pomi brand, but any kind works!
- Chickpeas: Two 15-ounce cans of chickpeas, slightly drained.
- Garam Masala: 1 teaspoon of garam masala.2
- Sugar: 2-3 teaspoons of coconut sugar (or maple syrup).
- Lemon Juice: 2 tablespoons of fresh lemon juice.
A quick note on the ingredients: using canned chickpeas is our time-saving hero here. Just give them a little drain—you don’t need all the liquid from the can. And when it comes to spices, freshness really matters. Using spices that haven’t been sitting in your cabinet for five years will make a huge difference.
Your Step-by-Step Cooking Journey
Alright, let’s do this. I’ll walk you through every step. We’re going to build these flavors one layer at a time.
Step 1: Get the Onions Going
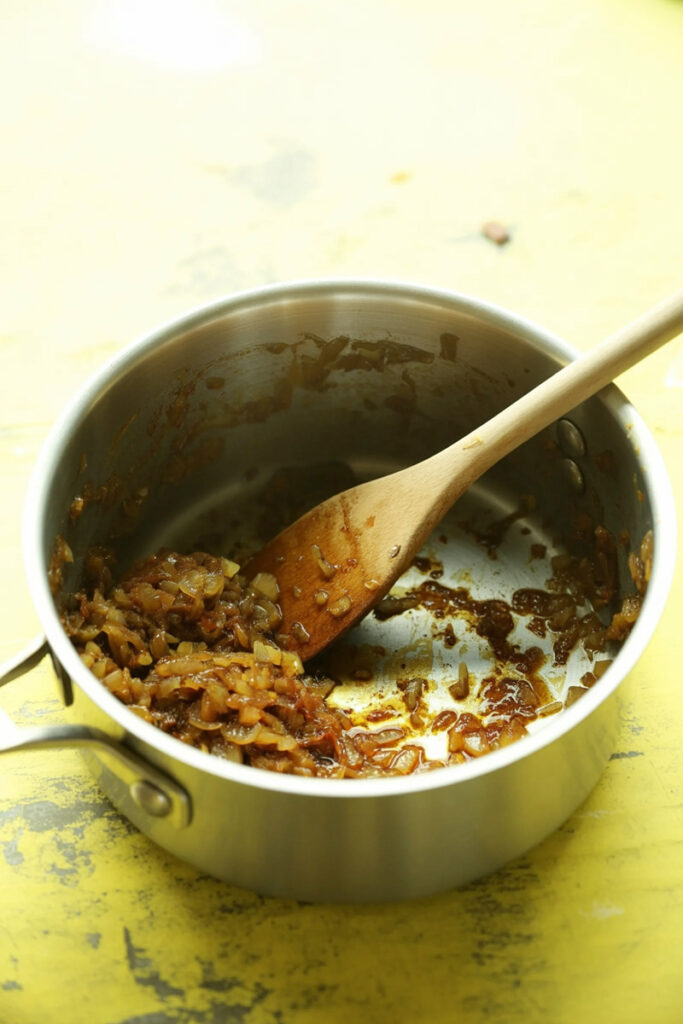
First, grab your large pot and set it over medium heat. Add the oil. Once it shimmers, toss in your diced onion, the ground cumin, and just a pinch of your salt (about 1/4 teaspoon).
You should hear a nice, gentle sizzle.
Let this cook for about 5-7 minutes, stirring occasionally. You want the onions to get soft and translucent. Don’t rush this part! Letting the onions soften properly releases their natural sweetness, which is key to balancing all the spices later. The kitchen should already start smelling pretty great.
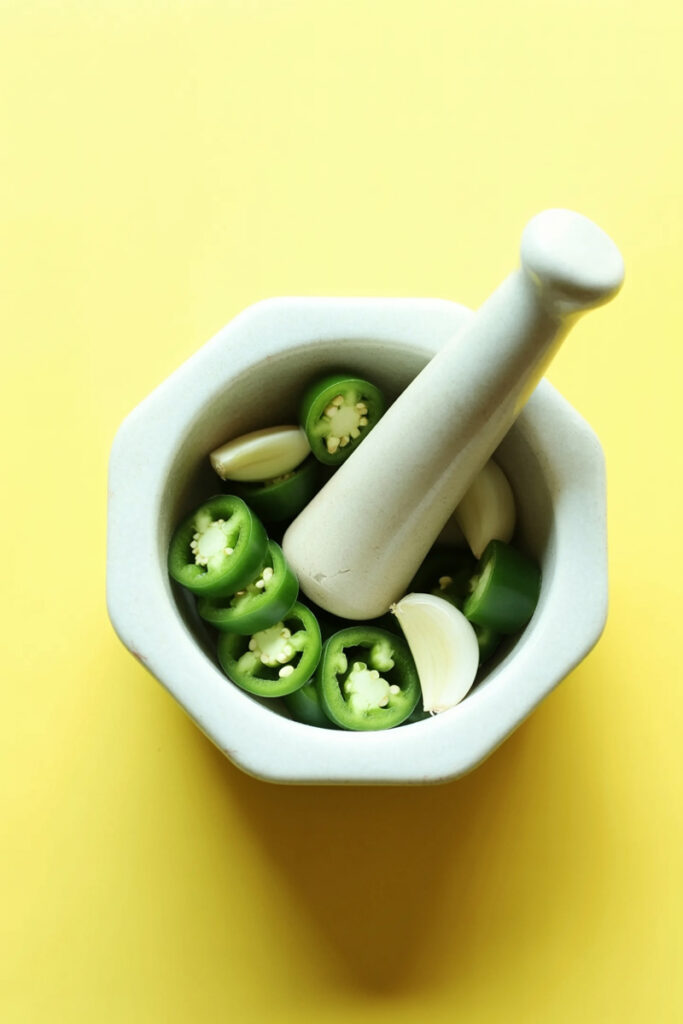
Step 2: Make the Magic Paste
While the onions are doing their thing, let’s make the flavor paste.
If you have a mortar and pestle, now’s its time to shine. Add the minced garlic, ginger, chopped cilantro, and sliced green chilies. Grind everything into a rough, fragrant paste. It’s a bit of work, but it really smashes all those amazing flavors together.
No mortar and pestle? No problem. A few pulses in a mini food processor works perfectly. Or, just chop everything up as finely as you can.
Once the onions are soft, add this green paste to the pot. Stir it constantly for about a minute. Your kitchen is about to smell incredible. Now, stir in the ground coriander, chili powder, and turmeric. Let them toast for about 30 seconds. If the pan looks dry, add a tiny splash more oil.
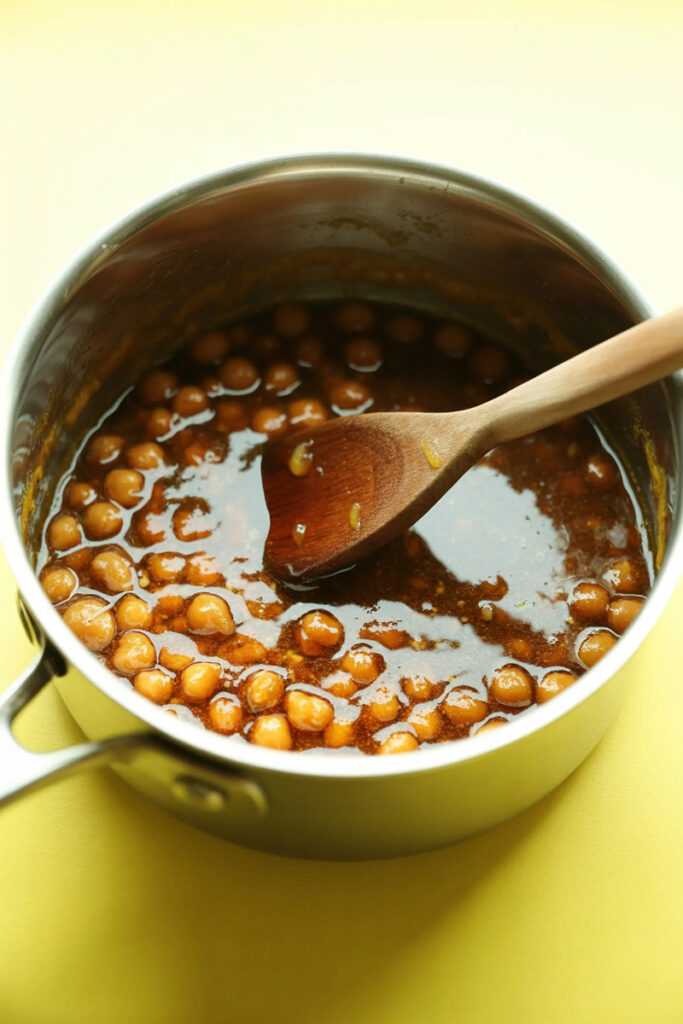
Step 3: Let it All Simmer Down
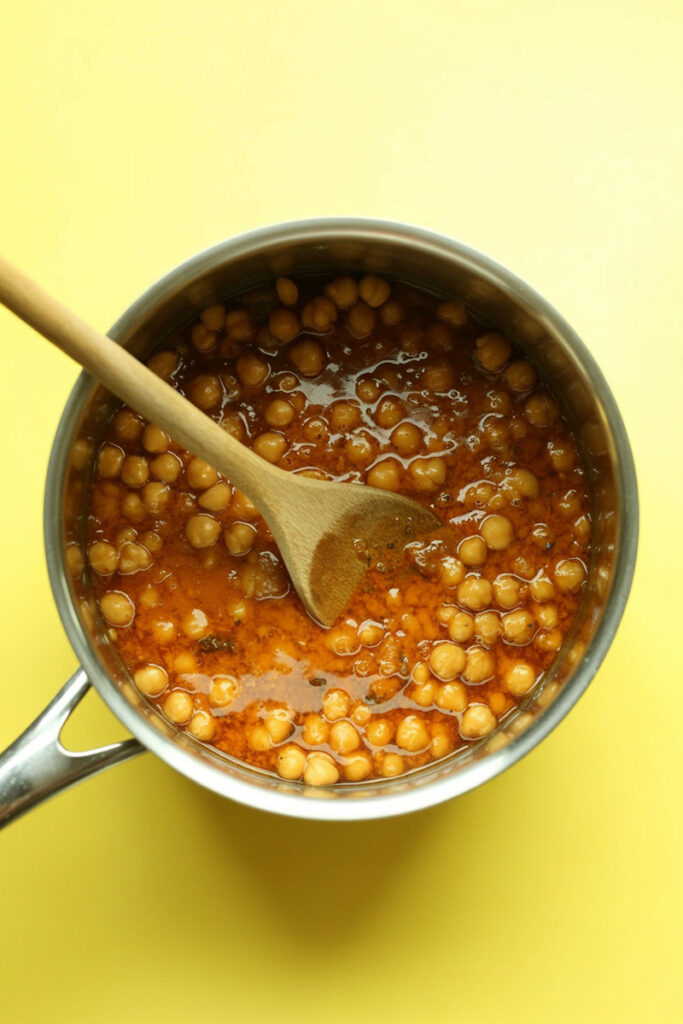
Now it’s time to build the body of our curry. Pour in the canned tomatoes and add the slightly drained chickpeas. Add the rest of your salt (the remaining 1/2 teaspoon).
Give it all a good stir. Take a look at the texture. It should look like a thick, hearty soup. If it seems too thick, go ahead and add about 1/2 cup of water to thin it out a bit.
Turn the heat up to medium-high and bring it to a lively simmer. As soon as it’s bubbling, reduce the heat to low. Let it gently bubble away, uncovered, for 15-20 minutes. This is where the real magic happens. The flavors all melt together, the sauce thickens up, and the chickpeas get super tender. Just remember to give it a stir every few minutes so nothing sticks to the bottom.
The Finishing Touches
Okay, chef, it’s your turn. After the curry has thickened, give it a taste. This is your moment to make it perfect for you.
Does it need more salt? A little more coconut sugar to balance the heat? A bit more chili powder for an extra kick? Adjust it until you love it.
Finally, take the pot off the heat. Stir in the fresh lemon juice and the garam masala. This last-minute addition is a total game-changer. The bright acid from the lemon and the warmth of the garam masala make all the other flavors just pop.
Feeling Extra? DIY Garam Masala Blend
If you really want to take things up a notch, making your own garam masala is a power move. It’s so much more fragrant than the pre-ground stuff. Just toast the whole spices in a dry pan until they smell amazing, then grind them up.
| Spice | Whole | Ground |
| Dried Red Chilies | 2 small | – |
| Black Peppercorns | 1 tsp | 1/2 tsp |
| Cumin Seeds | 1 tsp | 1/2 tsp |
| Cardamom Pods | 1 tsp | 1/2 tsp |
| Cloves | 1/2 tsp | 1/4 tsp |
| Nutmeg | – | 1/8 tsp |
Don’t Be Afraid to Mix It Up
One of the best things about cooking is making a recipe your own. Think of this as your starting point!
- To make it creamier: Stir in a 1/4 cup of full-fat coconut milk at the end.
- To make it milder: Use less green chili (or skip it) and use paprika instead of chili powder.
- To add more veggies: This is a great way to clean out the fridge!
- Add some cubed butternut squash or sweet potato when you add the tomatoes.
- Stir in a few big handfuls of fresh spinach or kale at the very end and let it wilt.
Serving & Storage
This is it. Time to eat!
I love to serve this with a big sprinkle of fresh cilantro and an extra wedge of lemon on the side. It’s fantastic over fluffy basmati rice or with a piece of warm naan bread for scooping. Honestly, sometimes I just eat it out of a bowl with a spoon.
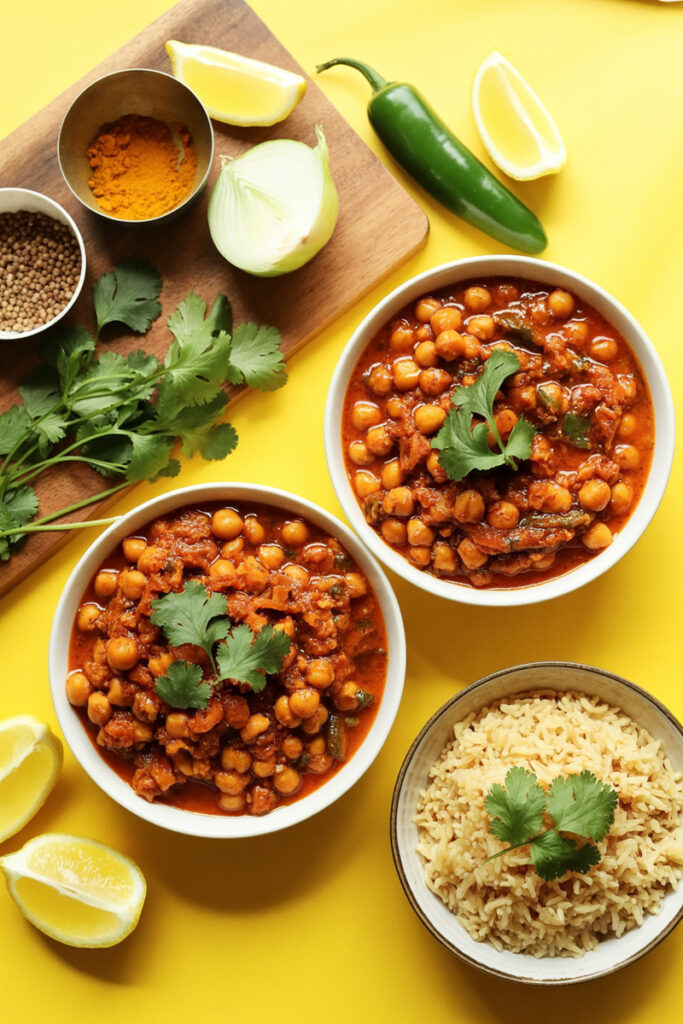
My absolute favorite way to serve it? Over some roasted sweet potatoes and broccoli. It’s a complete, powerhouse meal.
The good news is, the leftovers are incredible. Let it cool down, pop it in an airtight container, and it’ll keep in the fridge for up to 4 days. You can also freeze it! It’s good in the freezer for up to a month. It’s the perfect gift to your future, hungry self.
PrintEasy Chana Masala
This is your go-to recipe for authentic, flavorful Chana Masala that’s ready in just 30 minutes. It’s a true one-pot wonder—a hug in a bowl that tastes like it simmered for hours!
- Prep Time: 5 minutes
- Cook Time: 25 minutes
- Total Time: 30 minutes
- Yield: 6 people 1x
- Category: Main Dish, Vegan, Gluten-Free
- Cuisine: Indian
Ingredients
- 3 Tbsp neutral oil (grapeseed or coconut)
- 1 medium onion, finely diced
- 1 Tbsp ground cumin
- 3/4 tsp sea salt, divided
- 6 cloves garlic, minced
- 2 Tbsp fresh ginger, minced
- 1/2 cup fresh cilantro, chopped
- 2–3 green chilies (e.g., serrano), sliced
- 1 Tbsp ground coriander
- 1 tsp chili powder
- 1 tsp ground turmeric
- 1 (28-oz) can puréed or crushed tomatoes
- 2 (15-oz) cans chickpeas, slightly drained
- 1 tsp garam masala
- 2–3 tsp coconut sugar
- 2 Tbsp fresh lemon juice
Instructions
- Sauté Aromatics: Heat oil in a large pot over medium heat. Add the diced onion, cumin, and a pinch of salt (1/4 tsp). Cook for 5-7 minutes, stirring until the onion is soft and translucent.
- Make the Paste: While onions cook, mash the garlic, ginger, cilantro, and green chilies into a paste using a mortar and pestle (or pulse in a small food processor).
- Bloom Spices: Add the paste to the pot and stir for 1 minute until fragrant. Add the coriander, chili powder, and turmeric, and cook for another 30 seconds.
- Simmer the Curry: Pour in the crushed tomatoes and add the slightly drained chickpeas and the remaining salt (1/2 tsp). Stir well. Bring to a simmer, then reduce heat to low. Let it gently bubble, uncovered, for 15-20 minutes until the sauce has thickened.
- Finish & Serve: Remove the pot from the heat. Stir in the garam masala, coconut sugar, and fresh lemon juice. Taste and adjust seasoning if needed.
Notes
- Tips & Tricks: Don’t rush cooking the onions! Letting them soften properly builds a deep, sweet flavor base. The final squeeze of lemon juice is a must—it really brightens up all the flavors.
- Serving Suggestions: This curry is perfect served with fluffy basmati rice, warm naan bread for scooping, or over roasted vegetables for a complete meal.
- Storage & Reheating: Store leftovers in an airtight container in the fridge for up to 4 days. The flavors get even better overnight! Reheat gently on the stovetop or in the microwave until warmed through.
