
Let me tell you a story. A few years back, I got a little too ambitious with a recipe for lamb vindaloo. I added one extra chili—just one!—and ended up creating a dish so fiery it could have powered a small rocket. My mouth was on fire. My eyes were watering. Dinner was almost a disaster.
And then I remembered: raita.
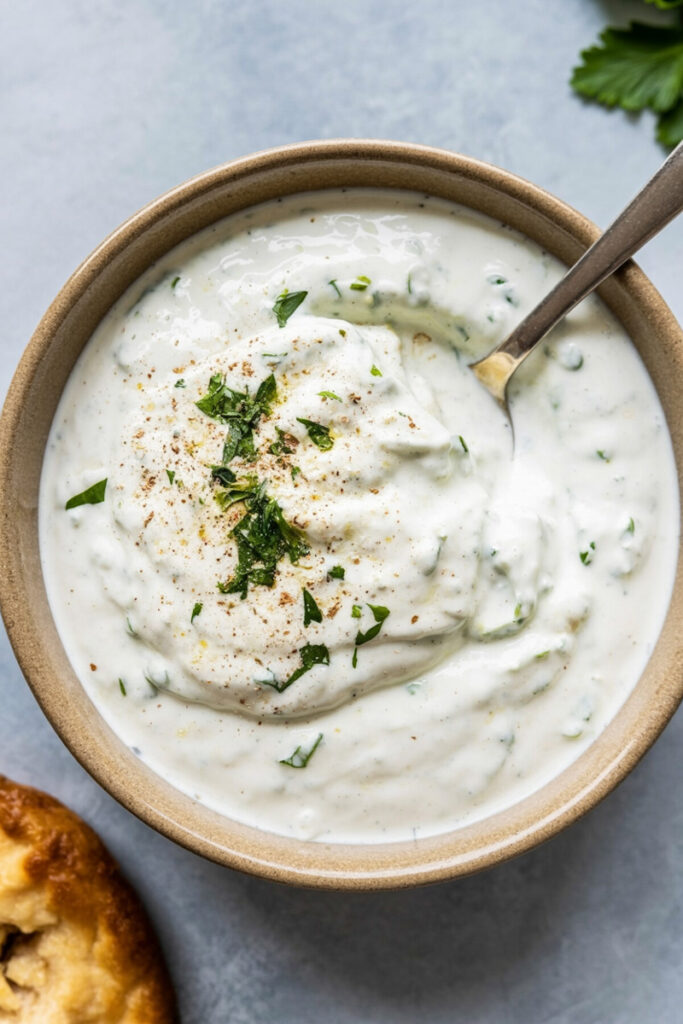
I whipped up a bowl of this creamy, cooling cucumber and yogurt sauce in about five minutes flat. It was the hero of the day. It swooped in, tamed the heat, and turned my spicy mistake into one of the best meals I’d made all month.
That’s the magic of raita. It’s a simple Indian yogurt sauce, but it’s the ultimate sidekick to any spicy or rich dish. Think of it as the calm, cool friend that balances everything out. It’s refreshing, it’s delicious, and I’m going to show you how to make the easiest, most foolproof version ever.
So, What Are We Making?
We’re making a classic North Indian style of raita called Kheera Raita, which just means Cucumber Raita. It’s clean, crisp, and incredibly simple.
My secret? I use Greek yogurt. It gives the raita a super thick and creamy texture that doesn’t get watery. It’s the perfect recipe whether you’re a total beginner in the kitchen or a seasoned pro. You’ll come back to this one again and again.
A Quick Look at What’s Ahead
Before we jump in, here’s the lowdown. This is probably one of the fastest recipes in my entire collection.
- Time Commitment: You need 5 minutes. That’s it. No cooking, just a little chopping and stirring.
- How Much Does It Make? This recipe makes enough for about 8 people to have a good serving alongside a meal. But it’s super easy to make more or less.
- Difficulty Level: This is a solid 1 out of 10. If you can use a knife and a spoon, you can nail this recipe.
- What Tools Do I Need? Just the basics. A bowl, a spoon, a knife, and a cutting board. That’s all.
And a quick note: Please, put the blender away. A blender will make the yogurt runny and turn the cucumber into mush. We want that little bit of fresh crunch, so we’re doing this by hand. I promise it’s fast!
Need to Make More or Less? No Problem.
I’ve made this for a quiet dinner for two and for a huge family barbecue. It’s so easy to scale. Here’s a little cheat sheet to help you out.
| Servings | Greek Yogurt | Diced Cucumber | Minced Cilantro | Cumin & Garam Masala (each) | Sea Salt |
| 2 | ½ cup | ¼ cup | 1 tbsp | ⅛ tsp | A tiny pinch |
| 4 | ¾ cup | ½ cup | 2 tbsp | ¼ tsp | ¼ tsp |
| 8 | 1 ½ cups | 1 cup | ¼ cup | ½ tsp | ½ tsp |
| 16 | 3 cups | 2 cups | ½ cup | 1 tsp | 1 tsp |
The Ingredients: Simple, Fresh, and Delicious
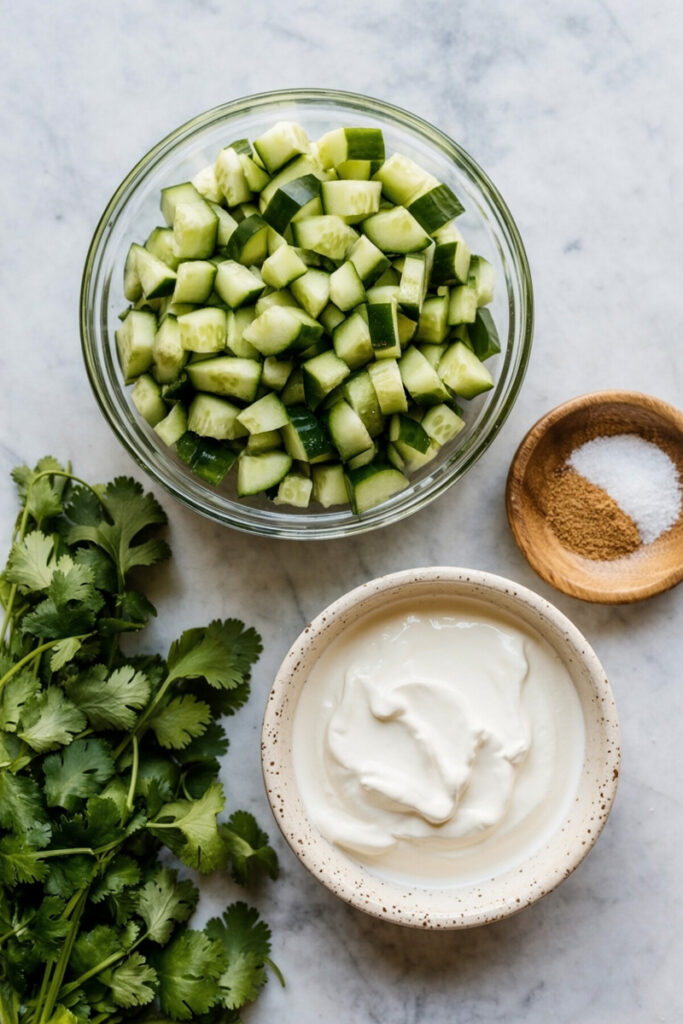
The beauty of this raita is its short and sweet ingredient list. Since there are only a few things in it, try to use the best quality you can find.
Our foundation is 1 ½ cups of plain Greek yogurt. My advice? Go for the full-fat kind. It creates the richest, creamiest raita that won’t get watery. You can use low-fat, but it just won’t be as luxurious.
Next up, the crunch and freshness from 1 cup of finely diced English cucumber. I love using English cucumbers because their skin is thin (no peeling needed!) and they have way fewer seeds. This means you get all that cool flavor without any bitterness. If you can only find a regular cucumber, that’s okay! Just peel it and use a spoon to scoop out the seeds before you dice it.
For a pop of bright, fresh flavor, we’ll use ¼ cup of minced fresh cilantro. Make sure it looks green and smells good! I mince up the tender stems along with the leaves—they have tons of flavor. Now, I know some people think cilantro tastes like soap. If that’s you, no worries at all. Just swap it for an equal amount of fresh mint. It’s a classic and equally delicious choice.
The spices bring a gentle warmth and earthy flavor. We need ½ teaspoon of ground cumin and ½ teaspoon of Garam Masala. Cumin is non-negotiable; its smoky flavor is what makes raita taste like raita. The Garam Masala adds a beautiful, complex aroma without making it spicy. Pro tip: Spices lose their punch over time, so try to use ones that haven’t been sitting in your cabinet since last year.
Finally, ½ teaspoon of sea salt brings all the flavors together. You can always add a little more at the end if you think it needs it.
Let’s Make Some Raita! A Step-by-Step Guide
Alright, grab your bowl. Let’s do this. It’s so simple, you’ll have it memorized after making it once.
Step 1: Get Your Cucumber and Cilantro Ready
First, let’s prep our veggies. Place your cucumber on the cutting board and start chopping. We’re aiming for a fine dice—think about the size of a lentil or a small pea. This tiny size is the key to getting a little bit of refreshing crunch in every single spoonful.
Next, the cilantro. Bunch the leaves and stems together into a tight little ball and rock your knife back and forth through it until it’s finely minced. Don’t go crazy and chop it into a paste; stop when it’s nicely chopped and smells amazing.
Step 2: Make the Spiced Yogurt Base
Now, spoon your Greek yogurt into a medium-sized bowl. Here’s a little trick I learned: before you add anything else, give the yogurt a really good stir on its own for about 30 seconds. This smooths it out and makes it so much easier to mix the spices in evenly. You want it to look silky and smooth.
Sprinkle the ground cumin, Garam Masala, and sea salt over the yogurt. Stir them in until they’re completely mixed. You’ll see the white yogurt get flecked with the warm spices, and it will start to smell absolutely incredible. This is the heart and soul of your raita.
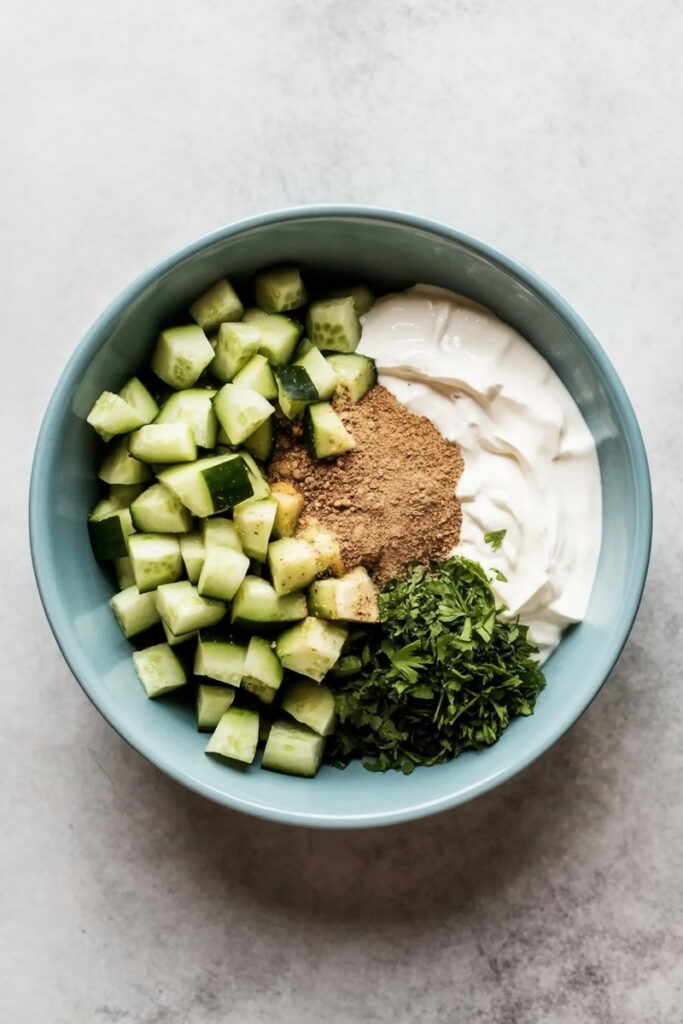
Step 3: Mix It All Together and Chill
Time for the grand finale! Add your finely diced cucumber and minced cilantro to the bowl of spiced yogurt.
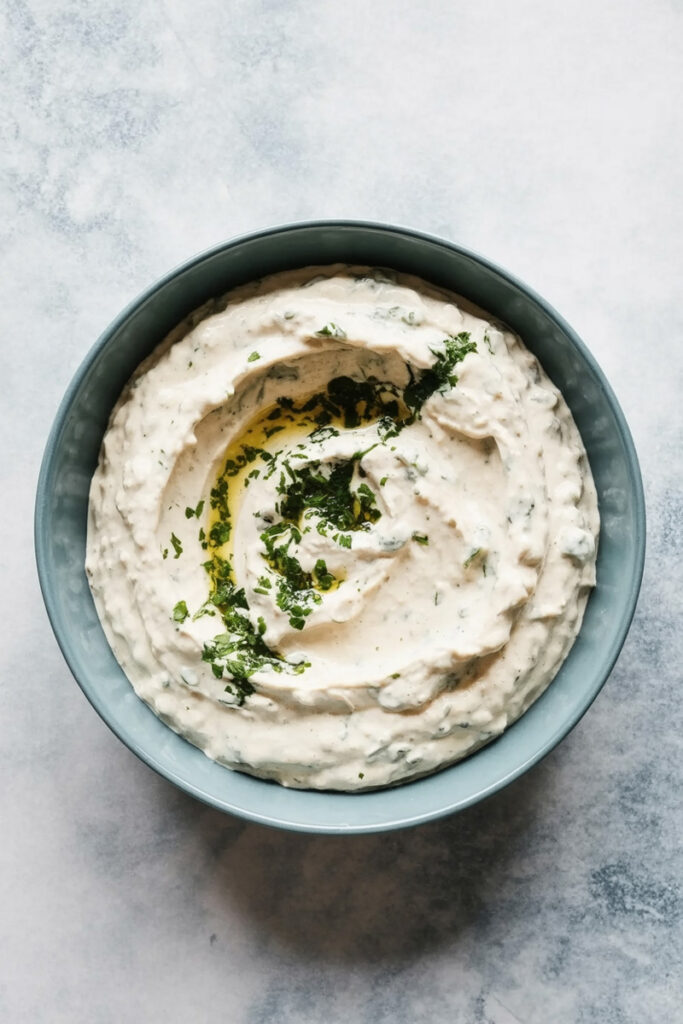
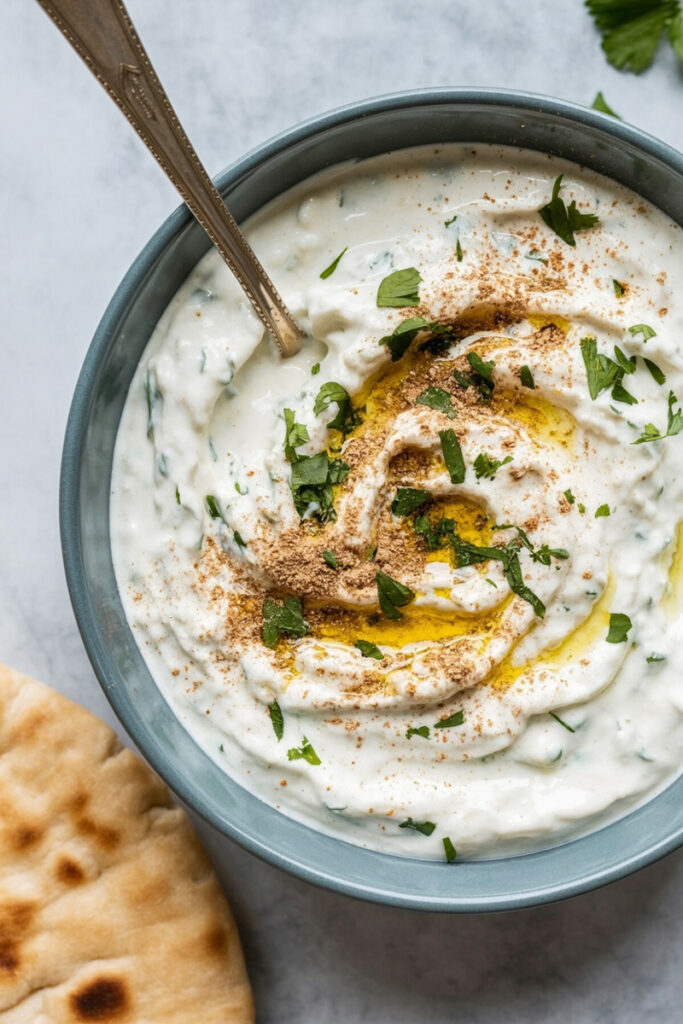
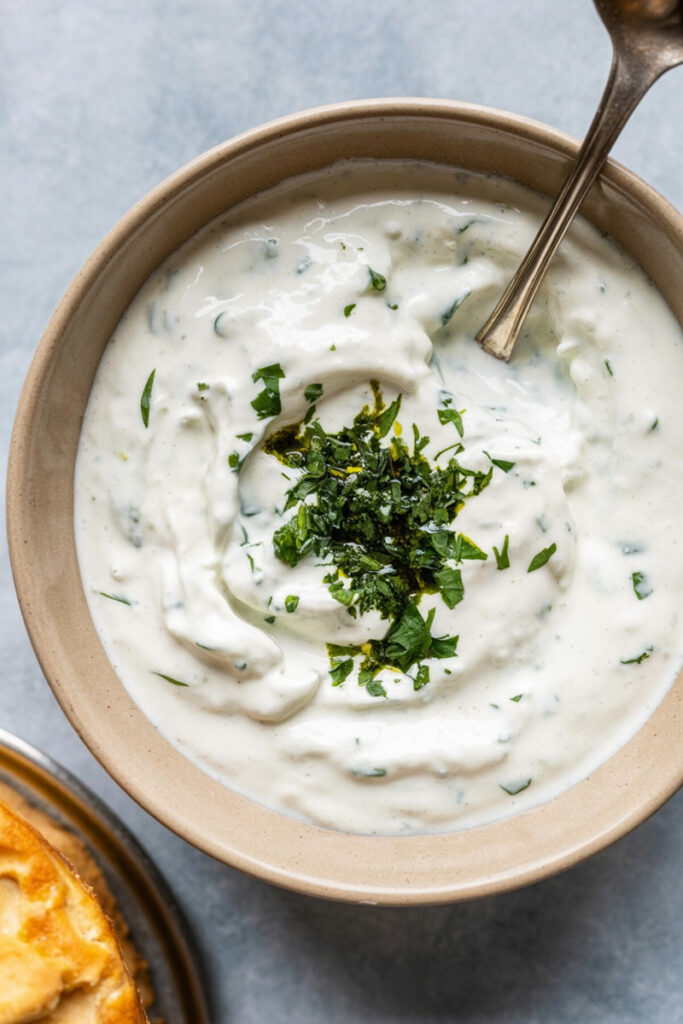
Now, switch from stirring to gently folding. Use a spatula or spoon to fold everything together until it’s just combined. We want to keep the yogurt thick and the cucumber crunchy. The final raita should be creamy and studded with little green flecks.
And just like that, you’re done! You can serve it right away, but if you have a little patience, I highly recommend covering it and chilling it in the fridge for at least 15 minutes. This gives the flavors a chance to hang out and get to know each other, making the raita even more refreshing.
Want to Mix It Up? Fun Variations
Once you’ve got this basic recipe down, you can play with it! Here are a few ideas:
- Make it Vegan: This is an easy swap. Just use a thick, plain, unsweetened yogurt made from coconut or almonds. The flavor will be a bit different, but still super tasty.
- Add Some Heat: If you like things spicy like me, finely mince a green chili (like a serrano) and fold it in with the cucumber. A pinch of cayenne pepper or red chili powder also works great.
- Get a Little Fancy: For a special occasion, you can add a tadka. It sounds impressive, but it’s so easy. Just heat a teaspoon of oil in a tiny pan. Add a ¼ teaspoon of mustard seeds and cumin seeds. Once they start to pop and sizzle (it only takes a few seconds!), carefully pour the hot oil and spices over your finished raita. It looks beautiful and adds an amazing toasty flavor.
- Use What’s in Season: In the winter, try adding a handful of bright red pomegranate seeds for a sweet-tart crunch. In the summer, add some grated carrot for color or extra fresh mint for even more cooling power.
How to Serve and Store Your Raita
Your beautiful, creamy raita is ready to go!
I love to serve it in a small bowl as part of a larger meal. It’s the perfect partner for so many dishes. It’s practically required with:
- Fragrant rice dishes like Biryani or Pulao.
- Rich, spicy curries like Chicken Tikka Masala or Chana Masala.
- As a dipping sauce for kebabs, samosas, or warm naan bread.
Store any leftovers in an airtight container in the fridge. It will stay good for about 2-3 days.
A quick heads-up: the cucumber will release a little water as it sits, so the raita might be a bit thinner on day two. It will still taste fantastic, but it’s at its absolute best on the day you make it.
And please, whatever you do, do not freeze it. Freezing will ruin the texture of both the yogurt and the cucumber, and you’ll be left with a watery, sad mess. Nobody wants that.
I hope you love how simple and delicious this raita is. Enjoy!
PrintRaita

Cool, creamy, and ridiculously easy! This 5-minute cucumber raita is the perfect refreshing sidekick for spicy curries, biryani, or anything hot off the grill. It’s the simple, cooling Indian yogurt sauce your meals have been missing.
- Prep Time: 5 minutes
- Cook Time: None
- Total Time: 5 minutes
- Yield: 8 servings 1x
- Category: Side Dish, Condiment
- Cuisine: Indian
Ingredients
- 1 ½ cups plain Greek yogurt (full-fat is best!)
- 1 cup English cucumber, finely diced
- ¼ cup fresh cilantro, finely minced
- ½ tsp ground cumin
- ½ tsp Garam Masala
- ½ tsp sea salt, or to taste
Instructions
- Prep the Veggies: Finely dice the cucumber and mince the cilantro. We’re looking for a small, even size for the best texture.
- Make the Yogurt Base: In a medium bowl, give the Greek yogurt a good stir by itself until it’s smooth and creamy. Add the ground cumin, Garam Masala, and sea salt, and stir until everything is evenly combined.
- Combine and Chill: Gently fold the diced cucumber and minced cilantro into the spiced yogurt. For the best flavor, cover and chill in the refrigerator for at least 10-15 minutes before serving.
Notes
- Serving Suggestions: This raita is a must-have with spicy dishes like Chicken Tikka Masala or Lamb Rogan Josh. It’s also perfect alongside biryani, pulao, or as a cooling dip for naan and samosas.
- Tips & Tricks:
- For the creamiest raita, don’t skip on full-fat Greek yogurt.
- If you can’t find an English cucumber, just peel a regular one and scoop out the seeds before dicing.
- Not a fan of cilantro? Fresh mint is a fantastic and classic substitute.
- Storage: Store leftovers in an airtight container in the fridge for up to 3 days. Note that it may get slightly thinner as the cucumber releases water. Do not freeze.