
Hey there! Welcome to my kitchen.
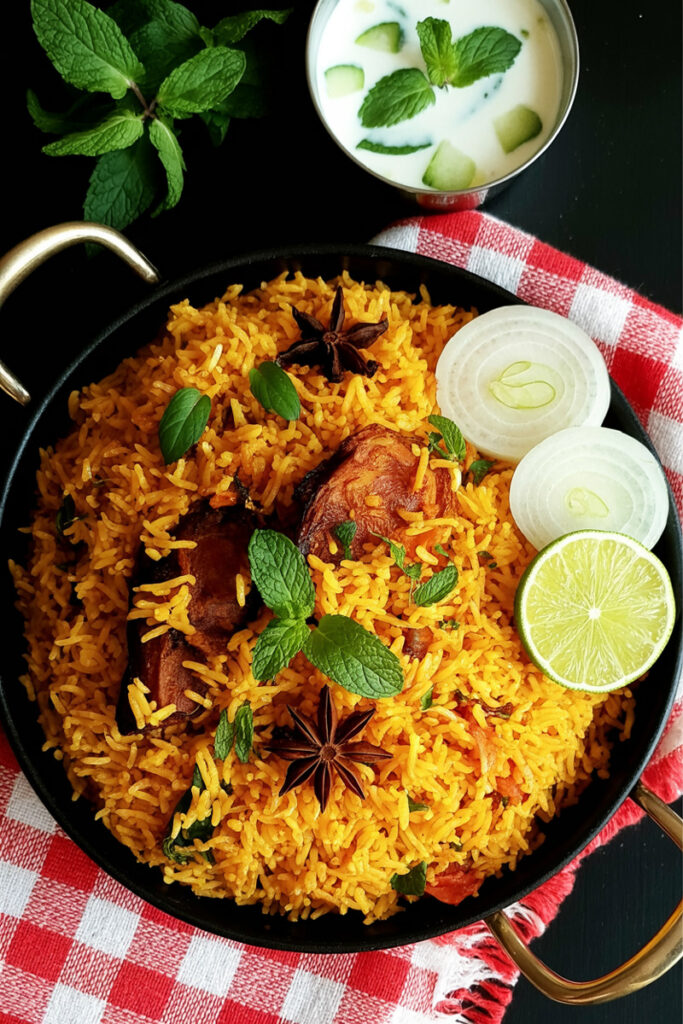
Today, we’re tackling a dish that seems way more complicated than it is: Biryani. If you think making a fragrant, perfectly layered, and delicious biryani is an all-day project, I’m about to change your mind.
I used to save biryani for lazy Sundays when I had hours to spare. But then I figured out a few shortcuts. This recipe is my secret weapon for a weeknight feast that tastes like it took all day. We’re going to make an incredible Vegetable Biryani that’s ready in just 30 minutes, without skimping on any of that authentic, soul-warming flavor.
Biryani has this fancy, royal past, right? It was food for kings. But you don’t need a palace kitchen to make a great one. This vegetable version isn’t just a stand-in for the meat version; it’s a vibrant celebration of veggies all on its own. It combines the classic layering idea with the speed of a pressure cooker or Instant Pot, giving you that slow-cooked taste in a flash.
So, let’s break it down.
What You’re Getting Into
This recipe is all about smart, quick techniques to build big flavor.
- How long will it take? Seriously, just 30 minutes. About 5 minutes to chop and prep, and 25 minutes of cooking time. That’s it.
- How many does it feed? This makes a perfect meal for two. But you can easily double or triple it for family or friends. I’ll show you how.
- Is it hard to make? Nope! If you can chop an onion and follow a few simple steps, you’ve got this. The real trick? Knowing when not to stir. I’ll walk you through everything.
- What gear do I need? You’ve got options. A pressure cooker or Instant Pot is fastest. But a good, heavy pot with a tight-fitting lid works just fine, too. A Dutch oven is also a great choice.
Want to get ahead? Of course you do.
- You can make the ginger-garlic paste ahead of time.
- You can chop the veggies and keep them in the fridge for a day or two.
- The real pro move? Fry up a big batch of onions over the weekend to make birista. It makes this dish (and many others) taste incredible.
Feeding a Crowd?
Need to make more? No problem. Here’s a quick cheat sheet for the most important parts: the rice and water. Just remember to bump up the veggies and spices, too!
| Servings | Aged Basmati Rice | Water (for Pot/Stovetop) | Water (for Instant Pot) | Cook Time (Instant Pot) |
| 2 (Base) | 1 cup | 2 cups | 1 ¼ cups | 5 mins (High Pressure) |
| 4 | 2 cups | 4 cups | 2 ½ cups | 5 mins (Low Pressure) |
| 6 | 3 cups | 6 cups | 3 ¾ cups | 5 mins (Low Pressure) |
The Heart of the Biryani: Your Ingredients
A great biryani isn’t about having a million ingredients. It’s about using the right ones, and using them well.
Let’s start with the star of the show: 1 cup of aged basmati rice. Trust me on this. Using “aged” rice is a tip I picked up a while back, and it makes all the difference. It’s less starchy, so the grains cook up incredibly long, fluffy, and separate. That’s the sign of a perfect biryani.
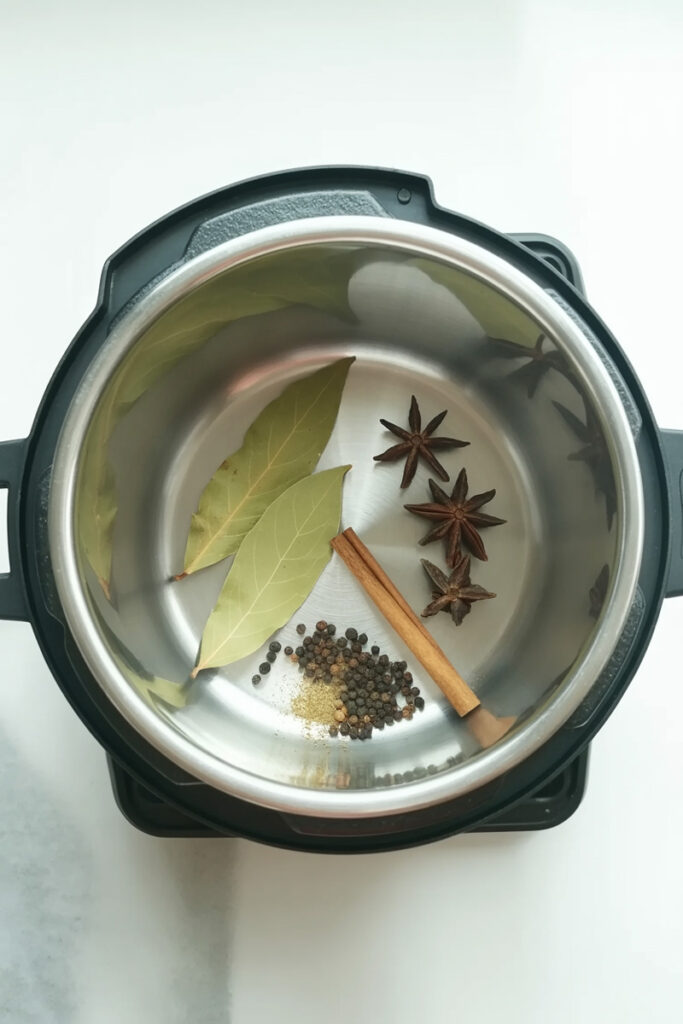
Next up, the soul of the dish: our whole spices. We’re going to “bloom” them in hot oil to wake them up and release all their flavor. You’ll need:
- 1 bay leaf
- 1-inch cinnamon stick
- 3 cloves
- 3 green cardamoms
- ½ teaspoon shahi jeera (caraway seeds)
- 1 star anise (optional, but so good for its sweet-spicy scent)
A quick note: Shahi jeera is more delicate and floral than regular cumin, which is why it’s a biryani classic.1
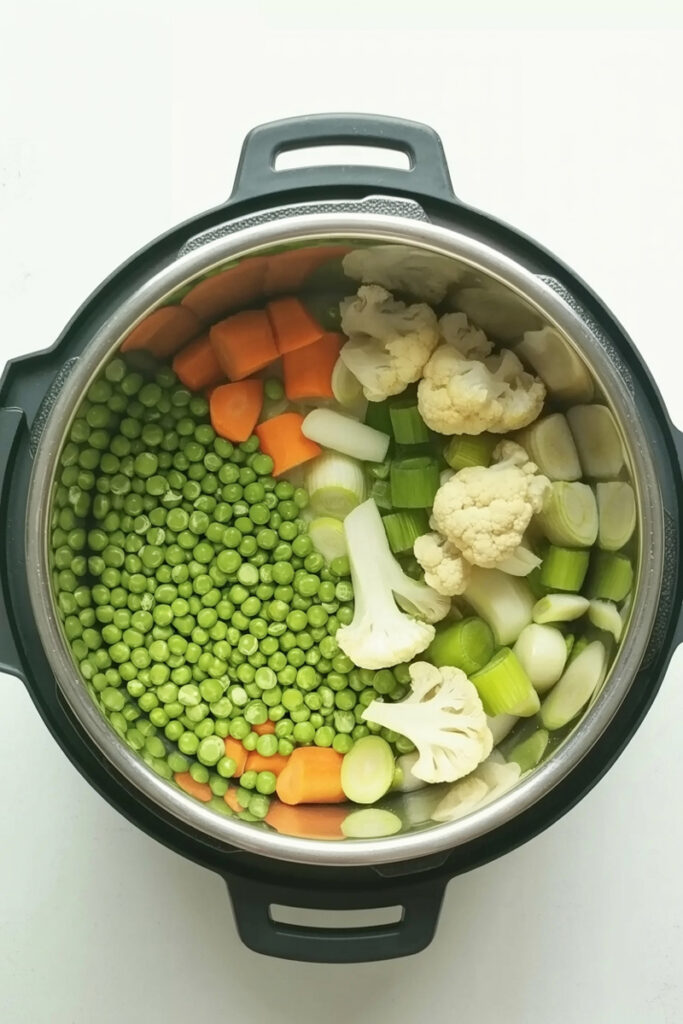
For the vegetable mix, we’re keeping it simple and delicious: ⅓ cup each of cubed potato, chopped carrot, and green peas. French beans also work great. Just try to keep the pieces around the same size so they cook evenly.
And finally, the flavor base that pulls it all together. This is our powerhouse.
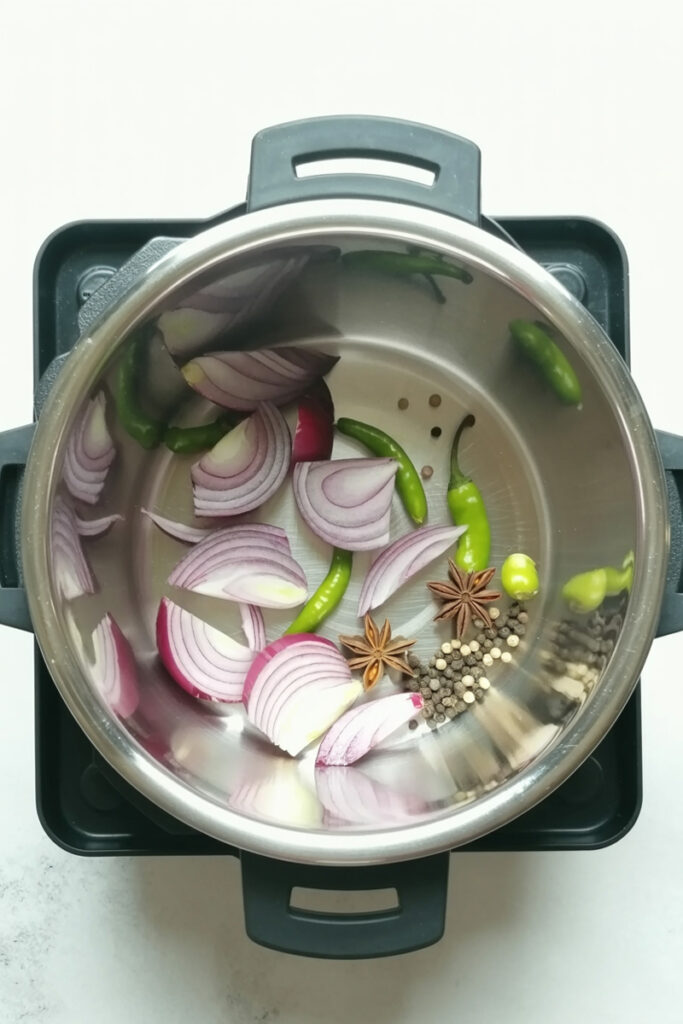
- ½ cup thinly sliced onion
- 1 teaspoon ginger-garlic paste
- 1 chopped green chili
- ½ teaspoon red chilli powder
- ¼ teaspoon turmeric
- ¾ to 1 teaspoon garam masala (or a special Biryani Masala)
- 1 small chopped tomato
- 3 tablespoons of yogurt (this makes the gravy so creamy and rich!)
- A big handful of chopped mint and coriander leaves for a burst of freshness.
Step-by-Step: Let’s Cook!
Alright, apron on? Let’s get cooking. I’ll guide you through each part.
1. First, Prep the Rice
Let’s get our hero ready. Measure out your basmati rice and give it a good rinse under cool water. Keep rinsing until the water runs clear. This gets rid of extra starch and is secret number one for fluffy rice.
Let it soak in a bowl of water for at least 20 minutes. While it’s soaking, you can chop your onions, veggies, and herbs. A little multitasking makes this a true 30-minute meal!
2. Build That Flavor Foundation
Here’s where the magic starts.
Put your pressure cooker or pot on the stove over medium-high heat. Add your oil or ghee. Once it’s shimmering, it’s time for the whole spices. Toss in the bay leaf, cinnamon, cloves, cardamom, shahi jeera, and star anise.
Listen for the sizzle. Within a minute, your kitchen is going to smell amazing. That’s your signal to move on.
Now, add the sliced onions. Don’t rush this part! This is where deep, sweet flavor is born. Stir them often until they go from sharp and raw to soft and a beautiful golden-brown. Once they’re there, add the green chili and ginger-garlic paste. Cook for another minute until that raw smell disappears.
3. Cook the Vegetable Masala
Toss in your potatoes and carrots (we’ll add the quick-cooking peas later). Sauté them for a couple of minutes so they get a nice coating of that spiced oil.
Turn the heat down just a bit. Add the chopped tomato, yogurt, mint, coriander, and all your powdered spices—red chilli, turmeric, and garam masala—plus ⅛ teaspoon of salt. Give it all a good stir and cook on high for 2-3 minutes.
You’re looking for a sign. The tomatoes will break down, and you’ll see the oil start to separate from the masala around the edges. That’s the visual cue that your base is perfectly cooked.
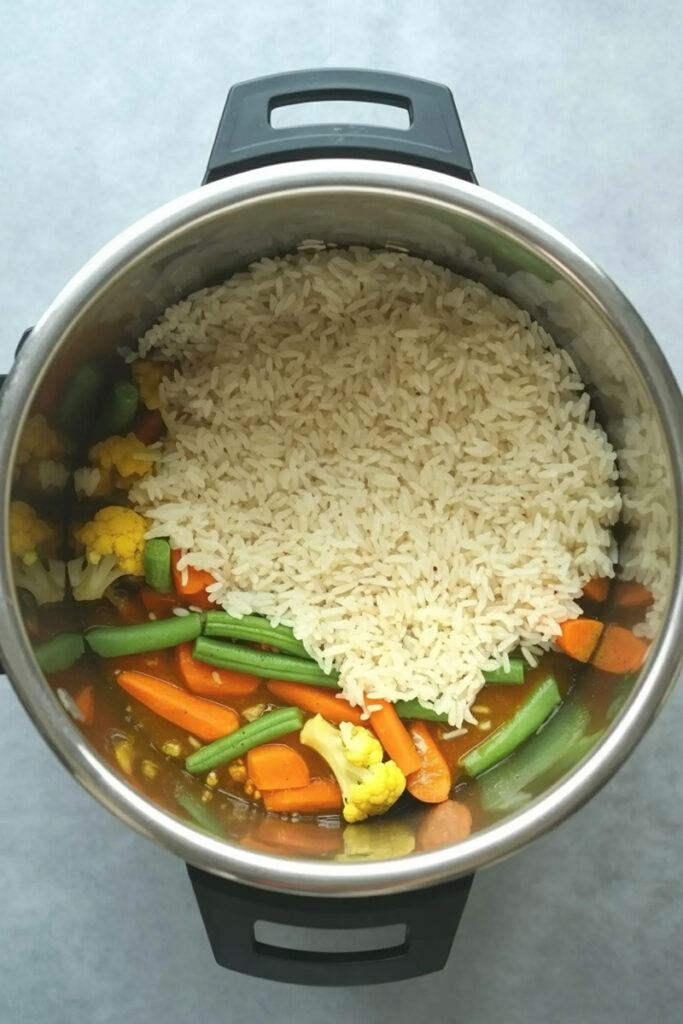
4. The Final Assembly
Okay, this part is important. Turn the flame down to low.
Drain the water from your soaked rice completely. Gently spread the rice in an even layer over the vegetable masala. And whatever you do… do not stir! This is the secret to getting those distinct layers, even in one pot. Scatter the green peas over the top of the rice.
In a separate bowl, bring your water (or thin coconut milk) to a boil. The microwave is great for this. Stir in ¼ teaspoon of salt. The water should taste just a little salty. Now, carefully pour this hot, salted water down the sides of the pot. Try not to pour it right in the middle and disturb those nice layers.
Time for the “dum,” or the steaming.
- For a Pressure Cooker: Lock the lid. Cook on medium-high for exactly one whistle. The second it whistles, turn off the heat. For perfect rice, I like to carefully release the pressure myself after about a minute or two.
- For a Pot: Cover it with a tight-fitting lid. You can even tuck a clean kitchen towel under the lid to trap more steam. Cook on low for about 15 minutes, until the water is gone. Then, let it rest, still covered, for 10-15 minutes off the heat.
- For an Instant Pot: Follow the notes in the table above! Just be sure to scrape the bottom of the pot after sautéing to avoid that “BURN” message we all dread.
Once it’s cooked, open the lid. Let it sit for 5 minutes. Then, gently fluff the rice with a fork, starting from the sides and lifting up from the bottom. You’ll see the beautiful layers you created.
Make It Your Own
Think of this recipe as your starting point. It’s a fantastic canvas. Here are a few ways I like to mix things up:
- Going vegan? Easy. Use oil instead of ghee and a thick, plant-based yogurt like coconut or soy.
- Control the heat. You’re the boss of the spice level. For a milder biryani, skip the green chili. For a spicier kick, add an extra chili or a little more garam masala.
- Making it fancy? Want to take it to the next level for guests? Two words: fried onions. I mentioned them before, but seriously. Make a batch of crispy fried onions (birista) and sprinkle them on top. It’s a game-changer. A little saffron soaked in warm milk, drizzled over the rice before cooking, also adds that classic restaurant look and smell.
- Use seasonal veggies. Don’t be afraid to swap things out! Cubed paneer, mushrooms, or bell peppers are all fantastic additions.
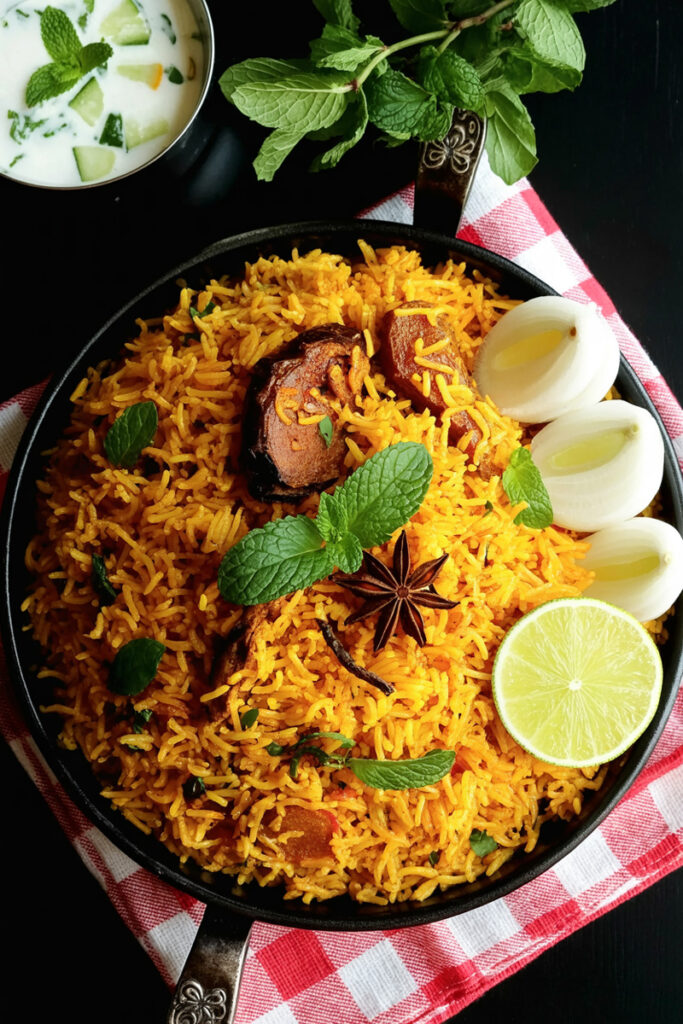
Serving and Storing
When you serve biryani, don’t just dump it in a bowl! Scoop from the side of the pot to get a beautiful mix of the plain white rice, the colored rice, and the rich masala from the bottom. A little squeeze of fresh lemon juice right before serving really brightens up all the flavors.
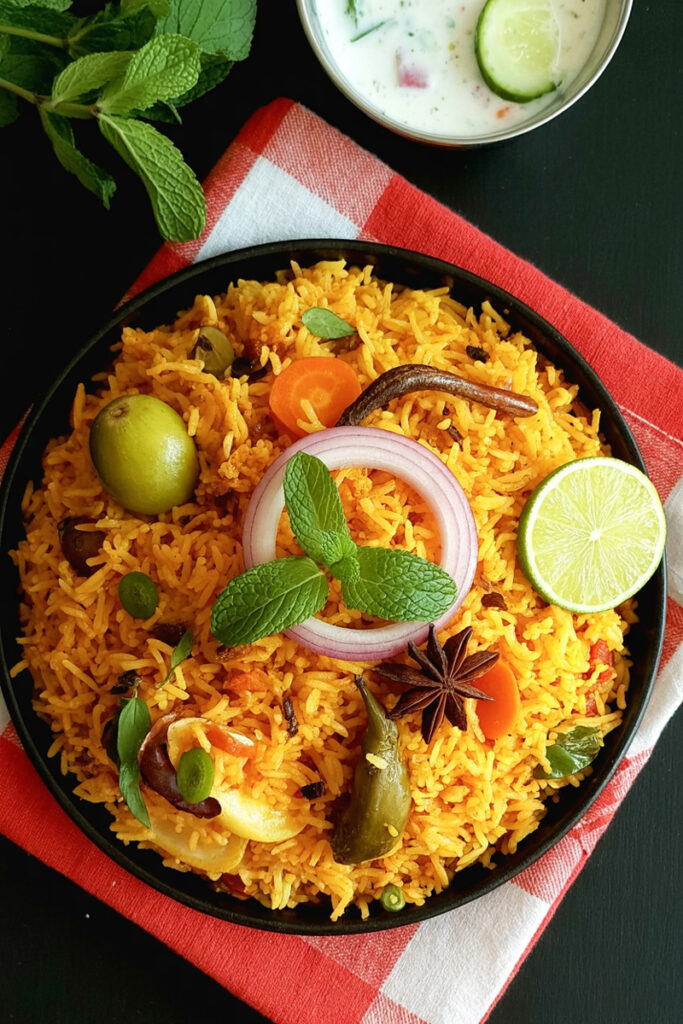
The perfect partner for biryani is a cool, creamy raita. It’s a classic for a reason. A simple cucumber and mint raita balances the spices beautifully.
Leftover biryani is maybe even better the next day. Store it in an airtight container in the fridge for up to 3 days. My tip for reheating: sprinkle a tablespoon of water over it and warm it in a covered pan on low heat. It gently re-steams the rice, making it soft and fluffy all over again.
I hope this guide helps you make an amazing biryani with confidence. Enjoy the process, and get ready to impress yourself! Happy cooking!
PrintVegetable Biryani

Craving authentic biryani but short on time? This vibrant, one-pot vegetable biryani delivers all the fragrant, layered goodness you love in just 30 minutes. It’s my go-to for a stunning weeknight meal that tastes like it took hours to make!
- Prep Time: 5 minutes
- Cook Time: 25 minutes
- Total Time: 30 minutes
- Yield: 2 people 1x
- Category: Main Course
- Cuisine: Indian
Ingredients
For the Rice:
- 1 cup aged basmati rice
Whole Spices (Khade Masala):
- 1 bay leaf
- 1-inch cinnamon stick
- 3 cloves
- 3 green cardamoms
- ½ tsp shahi jeera (caraway seeds)
- 1 star anise (optional)
Veggies & Aromatics:
- 2 tbsp ghee or oil
- ½ cup thinly sliced onion
- 1 tsp ginger-garlic paste
- 1 green chili, slit
- ⅓ cup potato, cubed
- ⅓ cup carrot, chopped
- ⅓ cup green peas
- 1 small tomato, chopped
For the Flavor Base:
- 3 tbsp plain yogurt, whisked
- Handful of chopped mint leaves
- Handful of chopped coriander leaves
- ½ tsp red chilli powder
- ¼ tsp turmeric powder
- ¾ tsp garam masala or biryani masala
- Salt, to taste
- 2 cups water (for stovetop) OR 1 ¼ cups water (for Instant Pot), hot
Instructions
- Prep the Rice: Rinse the rice under cool water until it runs clear. Soak in water for at least 20 minutes, then drain completely.
- Bloom the Spices: In a pressure cooker or heavy-bottomed pot, heat ghee/oil over medium-high heat. Add the whole spices and let them sizzle until fragrant, about 30-60 seconds.
- Build the Base: Add the sliced onions and sauté until they are evenly golden brown—this step builds deep flavor! Stir in the ginger-garlic paste and green chili and cook for another minute.
- Cook the Masala: Toss in the potatoes and carrots and sauté for 2 minutes. Turn the heat down and stir in the chopped tomato, yogurt, herbs, and powdered spices. Cook for 2-3 minutes, until you see oil separating from the masala.
- Layer and Cook: Gently spread the drained rice in an even layer over the masala. Do not stir! Top with the green peas. Carefully pour the hot, salted water down the sides of the pot.
- Seal and Steam:
- Pressure Cooker: Lock the lid and cook on medium-high for 1 whistle. Turn off the heat immediately.
- Instant Pot: Cook on High Pressure for 5 minutes, then perform a quick release.
- Stovetop Pot: Cover with a tight lid and cook on low heat for 15 minutes. Let it rest, covered, for 10 minutes off the heat.
- Rest and Fluff: Let the biryani rest for 5 minutes after cooking. Open the lid and gently fluff the grains with a fork from the sides, lifting upwards to reveal the layers.
Notes
- Serving Suggestions: This biryani is perfect with a side of cool, creamy raita (cucumber or mint is classic!) and a simple chopped salad. A squeeze of fresh lemon juice over the top before serving makes the flavors pop.
- Tips for Perfect Biryani:
- Don’t Skip the Soak: Soaking the rice is crucial for long, fluffy grains.
- Golden Onions: Take your time browning the onions. This is where the biryani gets its rich, slightly sweet foundation.
- No Stirring! Layering the rice without stirring is the key to getting that distinct, layered texture, even in a one-pot recipe.
- Storage and Reheating: Leftovers are fantastic! Store in an airtight container in the fridge for up to 3 days. To reheat, sprinkle a tablespoon of water over the rice and warm it in a covered pan on low heat. This gently re-steams it to perfection.