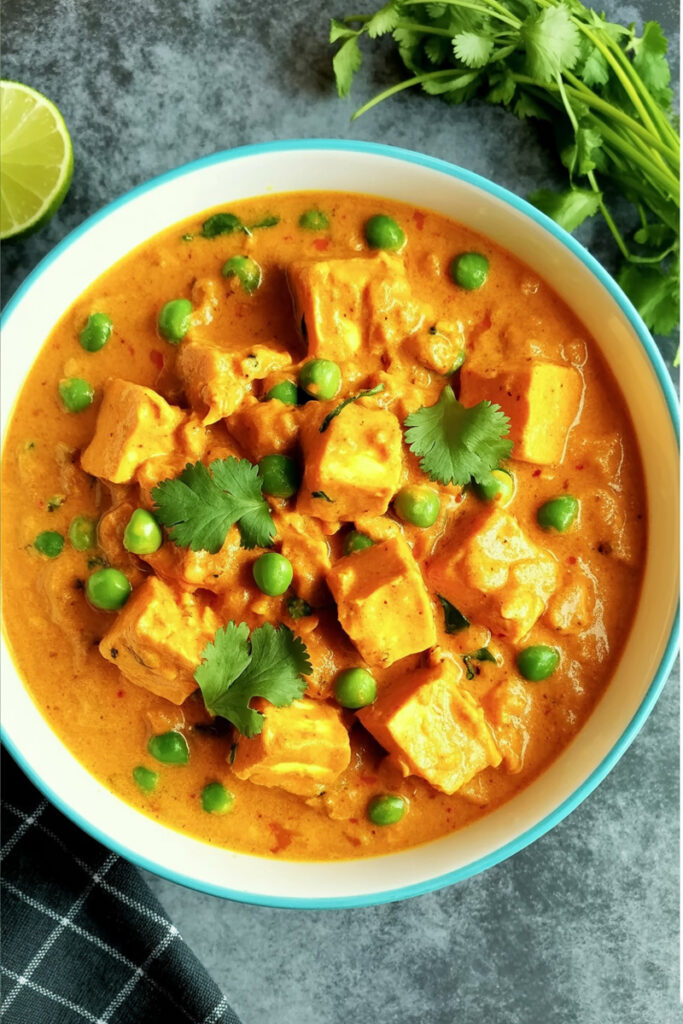
Let me tell you about a dish that feels like a warm hug in a bowl: Matar Paneer.
If you’ve ever walked into a North Indian home around dinnertime, you’ve probably been hit with the amazing, rich smell of this curry. It’s a total classic. The kind of food that shows up at family dinners, big celebrations, and quiet weeknight meals. It just fits everywhere.
So, what is it?
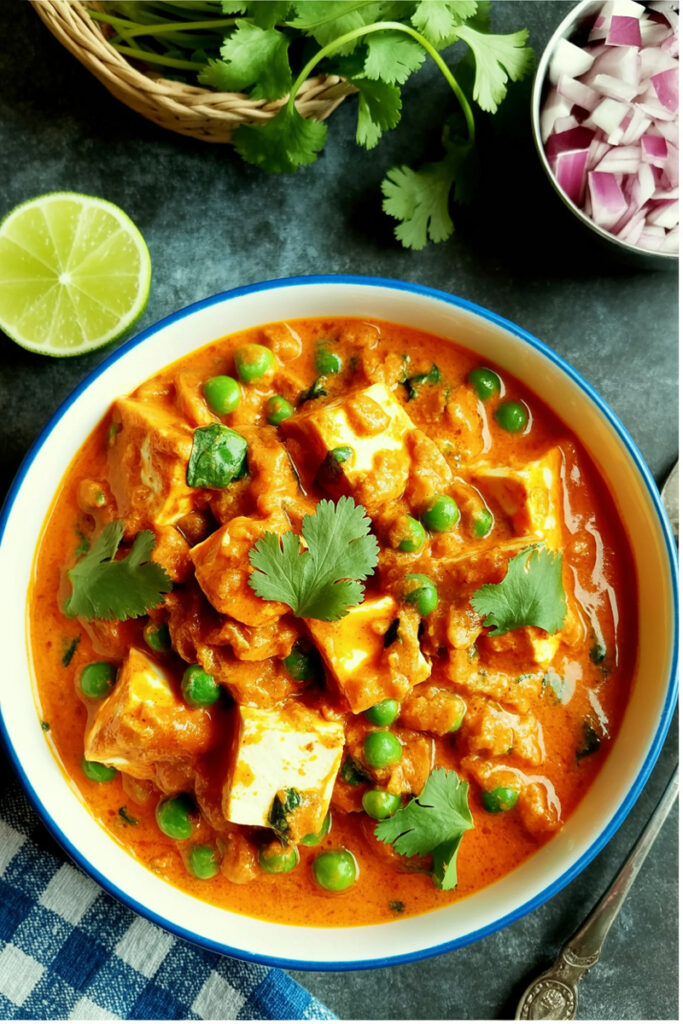
At its heart, Matar Paneer is a simple Punjabi dish. It’s got soft cubes of Indian cheese, called paneer, and sweet green peas, or matar.1 They swim together in a creamy, spicy tomato and onion sauce. The real magic is how these basic ingredients turn into something so incredibly delicious.
The recipe I’m sharing today is mostly how it’s made in homes across India, but I’ve thrown in a few tricks I’ve learned that give it that special, restaurant-quality touch. We’re going for that perfect balance—a little creamy, a little tangy, and a whole lot of aromatic.
This recipe is simple enough for beginners, but even if you’ve been cooking for years, I bet you’ll find a new tip or two. Let’s get started on making a Matar Paneer that will have everyone reaching for another spoonful!
Quick Facts Before We Start
Before we roll up our sleeves, here’s a quick rundown. This recipe is all about building up flavors one step at a time. Don’t let that scare you. It’s a very forgiving dish.
- Prep & Cook Time: You’ll need about 10 minutes to get everything ready and another 35 minutes to cook. A fantastic meal in under an hour? Yes, please.
- How many does it feed?: This recipe makes enough for 4 people. But you can easily make more for a party or less for yourself. Just move the numbers up or down.
- How hard is it?: I’d say it’s pretty beginner-friendly. The steps are easy to follow. The only trick is learning to use your nose and eyes to tell when the sauce base is ready. But I’ll walk you through it.
- What tools do I need?: Nothing fancy. A good, heavy pan (a wok or karahi is perfect) and a blender for that super smooth sauce. A countertop blender works best, but an immersion one will do the job too.
- Can I make it ahead?: Absolutely! This is a great dish for meal prep. The onion-tomato sauce is the heart of the dish, and you can make it 2-3 days early and keep it in the fridge. I sometimes make a huge batch and freeze it in portions for later.
Making It For a Crowd?
No problem. This recipe is easy to scale up. Here’s a handy guide:
| Servings | Paneer | Onions (chopped) | Tomatoes (chopped) | Cashews | Green Peas |
| 2 | 125g | ½ cup | ¾ cup | 6 | ½ cup |
| 4 (This Recipe) | 250g | 1 cup | 1½ cups | 12 | 1 cup |
| 8 | 500g | 2 cups | 3 cups | 24 | 2 cups |
The Ingredients: Your Flavor Toolkit
The best part about Matar Paneer is that it uses pretty simple ingredients you might already have. Let’s talk about what we need.
For the Sauce Base (the heart of the dish!)
The soul of our curry is a rich, creamy puree. For this, you’ll need:
- 1 tablespoon of oil
- A few green cardamoms (optional, but they add a lovely floral scent)
- 3 cloves of garlic
- A 1-inch piece of ginger
- 1 cup of cubed onions. These give a sweet, savory flavor once they get golden.
- 1½ to 1¾ cups of ripe tomatoes. Use the reddest, plumpest ones you can find for the best color and taste.
- 12 cashews. This is my secret weapon for that restaurant-style creamy texture. If you have a nut allergy, you can use peeled, soaked almonds instead, or just add a splash of heavy cream at the end.
- A pinch of salt
For the Main Gravy
- 1½ tablespoons of ghee or oil. Ghee gives it that classic nutty richness, but oil works great too.
- 1-inch piece of cinnamon and a small bay leaf. These warm spices make the whole dish fragrant.
- ¼ teaspoon turmeric
- ¾ to 1 teaspoon of Kashmiri red chili powder. This is key! It gives the curry a vibrant red color without making it crazy spicy.
- ¾ to 1 teaspoon of garam masala
- ½ to ¾ teaspoon of coriander powder
And the Stars of the Show…
- 1 cup of green peas. Fresh or frozen both work perfectly.
- 250 grams of paneer, cut into cubes.
- 1 teaspoon of kasuri methi (dried fenugreek leaves).2 Don’t skip this if you can find it! It adds a unique savory flavor.
- 1 teaspoon of sugar (optional, to balance the tartness from the tomatoes)3
- 2 tablespoons of finely chopped coriander leaves
- ¼ cup of heavy cream (optional, for that final touch of luxury)
Step-by-Step Method: Let’s Cook!
Alright, time for the fun part. I’ll guide you through every step. You’ll know exactly what to look for, smell for, and taste for.
Step 1: Making the Flavor Base
First things first, we create the foundation.
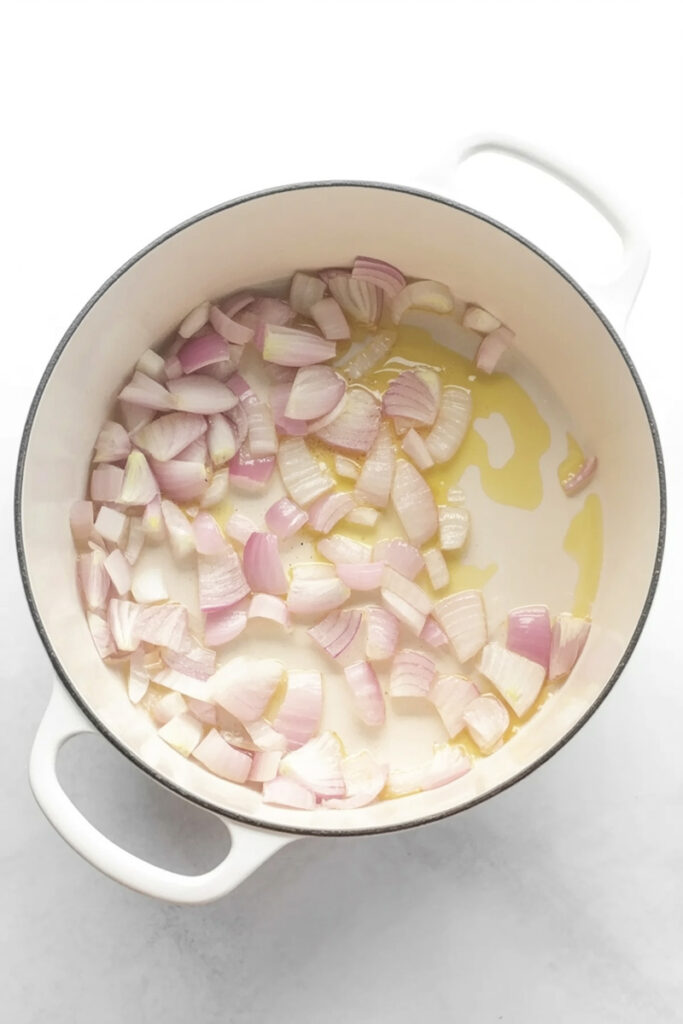
Put your pan over medium heat and add the oil. When it shimmers, toss in the optional cardamoms, ginger, and garlic. Sauté them for just a minute. Your kitchen will start to smell incredible. Just be careful not to let them burn!
Now, add the onions. Cook them for about 5 to 6 minutes. You want them to get soft and turn a nice light golden brown. Don’t rush this part; it builds a deep, sweet flavor.
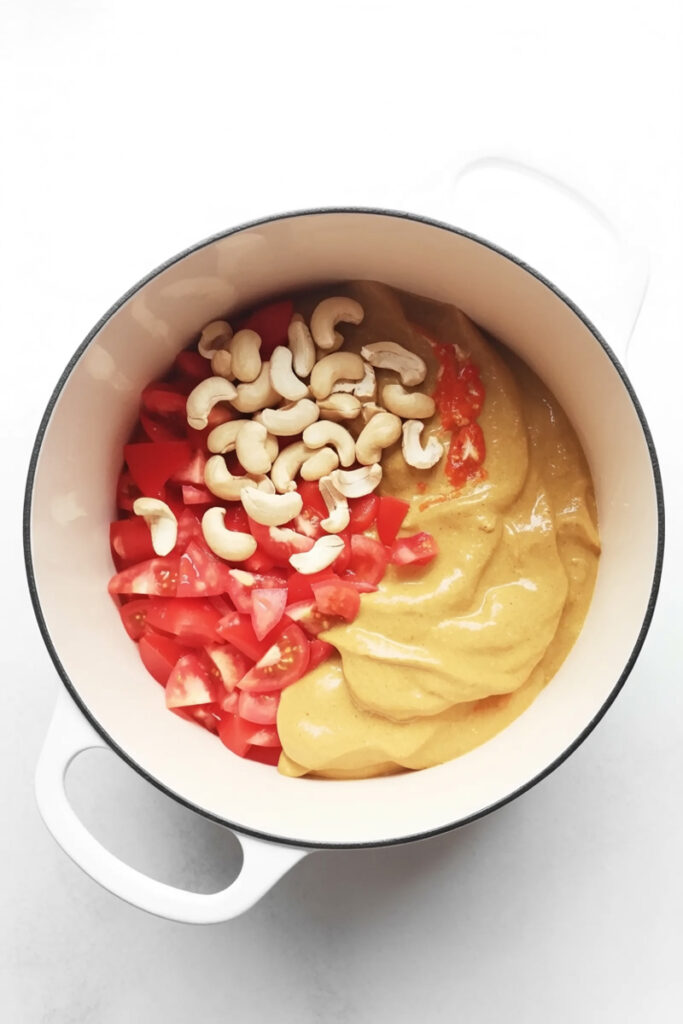
Next, add the tomatoes, cashews, and a pinch of salt. Cook for a few more minutes, then pop a lid on the pan. Let everything simmer away until the tomatoes are completely soft and mushy. If things look a bit dry, just add a splash of water.
Turn off the heat and let the mixture cool down completely. This is a really important tip! Blending hot liquids can be dangerous. Plus, a cooled mixture blends into a much smoother, silkier sauce. Once it’s cool, pour it into your blender and blitz it until it’s perfectly smooth.
Step 2: Bringing the Curry Together
In the same pan, heat the ghee or oil over medium heat. Add the cinnamon stick and bay leaf. Let them sizzle for a minute to flavor the fat.
Now for another critical step: turn the heat down to low. Add the turmeric, red chili powder, garam masala, and coriander powder. Stir them in the warm ghee for about 30 seconds. This is called “blooming” the spices, and it wakes up all their flavor. You’ll see the colors get deeper and the smell will be intensely aromatic.
Quickly, pour in your smooth onion-tomato puree. It should sizzle satisfyingly! Stir it all together and let it cook for 2 to 3 minutes until the sauce thickens up.
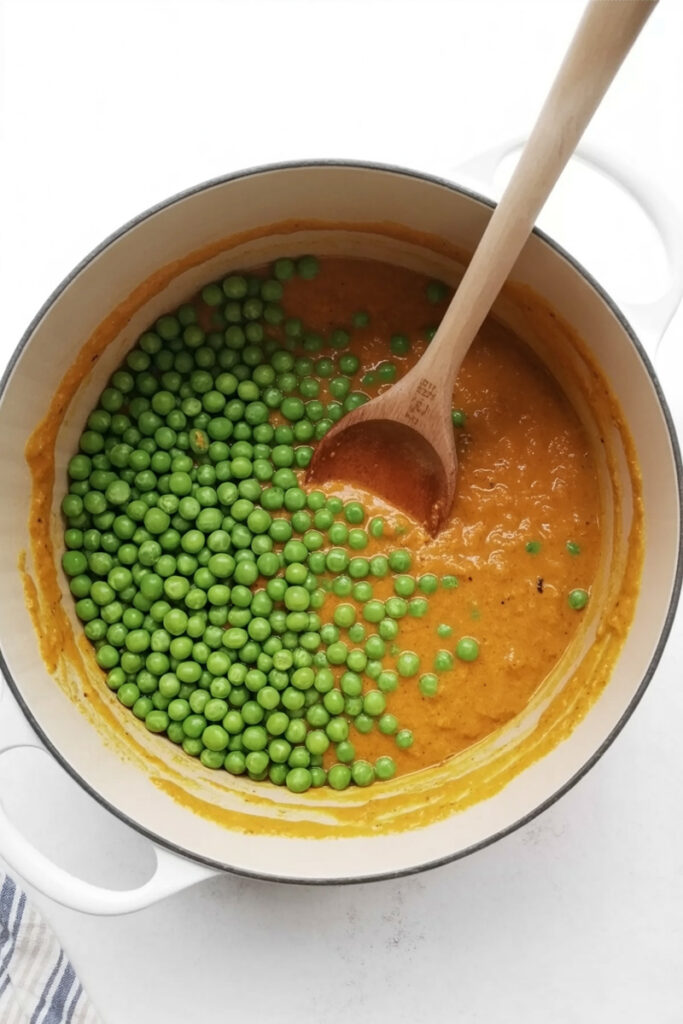
Now, stir in the green peas and add some water. Bring it all to a boil, then lower the heat, partially cover the pan, and let it simmer for 10 to 12 minutes. This is where the real magic happens. The gravy will thicken, the color will get deeper, and you’ll see little shimmery pools of ghee separating at the edges. That’s the sign that your gravy is perfectly cooked.

Step 3: Adding the Paneer and Final Touches
While the gravy is simmering, let’s give the paneer a little extra attention. This step is optional, but I highly recommend it.
Heat a little ghee in a non-stick pan and fry the paneer cubes for about 3 minutes, turning them until they’re golden on all sides. This gives them a wonderful, slightly firm outside while the inside stays soft and pillowy.
Back to the gravy! Take the kasuri methi and crush it between your palms as you sprinkle it in. This simple move releases all its amazing savory aroma. Add the paneer (fried or plain) and the sugar. Give it a gentle stir. Now’s a good time to taste it and see if it needs more salt or garam masala. Let it cook for just 2 more minutes so the paneer can soak up all those flavors.
Finally, turn off the heat. This is important. Stir in the heavy cream and a generous handful of fresh coriander leaves.
Let the Matar Paneer sit for 10 minutes before you serve it. This little rest lets all the flavors settle in and get even better.
Variations: Make It Your Own!
One of my favorite things about this recipe is how easy it is to change up.
- Want to make it vegan? Easy! Use oil instead of ghee. Swap the paneer for firm tofu—just pan-fry it the same way. For the creamy part, use cashew cream, coconut cream, or a vegan yogurt.
- Adjusting the spice: This recipe is pretty mild. If you want it even milder, use less chili powder. If you like a fiery kick, add a pinch of cayenne pepper.
- A lighter, everyday version: To make a lighter curry, you can leave out the cashews and cream. It won’t be as rich, but it will still be delicious. You can also skip frying the paneer.
- Feeling fancy? Make it “Shahi” (Royal): For a richer version perfect for a party, use more cashews (about 20), definitely use ghee, and don’t skip the cream at the end. Some people even add a pinch of saffron soaked in warm milk.
Serving & Storage: Enjoying Your Hard Work!
You did it! You have a beautiful pot of Matar Paneer. Now for the best part—eating it.
How to serve it:
This curry is a dream with any Indian bread.
- Fluffy naan
- Flaky parathas
- Simple chapati or roti
It’s also fantastic poured over steamed Basmati rice or Jeera (cumin) rice. To make it a full meal, serve it with a cooling cucumber raita and a simple fresh salad.
Storing and reheating:
Matar Paneer keeps really well in an airtight container in the fridge for up to 3 days. And honestly? I think it tastes even better the next day after the flavors have had more time to mingle.
To reheat, just warm it up gently in a pan over low heat. Add a splash of water or milk if the gravy got too thick. Try to avoid the microwave, as it can make the paneer a bit tough.
Can you freeze it?
Yes! For the best texture, I suggest freezing just the gravy before you add the paneer and cream. Let the gravy cool, freeze it for up to 2 months, and when you’re ready, just thaw it, bring it to a simmer, and add fresh paneer and cream. Easy!
PrintMatar Paneer
A classic North Indian curry that feels like a warm hug in a bowl! Soft paneer cheese and sweet peas swim in a rich, creamy tomato gravy that’s surprisingly simple to make at home. This recipe will have you skipping the takeout for good.
- Prep Time: 10 minutes
- Cook Time: 35 minutes
- Total Time: 45 minutes
- Yield: 4 people 1x
- Category: Main Course, Curry
- Cuisine: North Indian, Punjabi
Ingredients
For the Gravy Base:
- 1 tbsp oil
- 3 cloves garlic
- 1-inch piece ginger
- 1 cup onions, cubed
- 1½ cups tomatoes, ripe, chopped
- 12 cashews
- Pinch of salt
For Assembling the Curry:
- 1½ tbsp ghee or oil
- 1 bay leaf
- 1-inch piece cinnamon stick
- ¾ tsp Kashmiri red chili powder
- ¾ tsp garam masala
- ½ tsp coriander powder
- ¼ tsp turmeric powder
- 1 cup green peas (fresh or frozen)
- 250g paneer, cut into cubes
- 1 tsp kasuri methi (dried fenugreek leaves)
- 1 tsp sugar (optional)
- 2 tbsp coriander leaves, chopped
- ¼ cup heavy cream (optional)
Instructions
- Make the Gravy Base: Heat oil in a pan over medium heat. Sauté the ginger and garlic for one minute until fragrant. Add the onions and cook until light golden, about 5-6 minutes.
- Cook & Cool: Add the tomatoes, cashews, and a pinch of salt. Cover and cook until the tomatoes are completely soft and mushy. Turn off the heat and let the mixture cool down completely.
- Blend Smooth: Transfer the cooled mixture to a blender and blend until you have a super smooth, silky puree. Set aside.
- Bloom the Spices: In the same pan, heat the ghee over medium-low heat. Add the bay leaf and cinnamon stick. Once they sizzle, turn the heat to its lowest setting and add the turmeric, Kashmiri red chili powder, garam masala, and coriander powder. Stir for 30 seconds until aromatic—this wakes up their flavor!
- Simmer the Curry: Immediately pour in the blended puree. Stir well and cook for 2-3 minutes. Add the green peas and about 1 cup of water. Bring to a boil, then reduce the heat, cover partially, and simmer for 10-12 minutes, or until the gravy thickens and you see traces of ghee on the surface.
- Add the Paneer: Crush the kasuri methi between your palms and sprinkle it into the gravy. Add the paneer cubes, sugar (if using), and stir gently. Cook for just 2 more minutes.
- Finish: Turn off the heat. Stir in the optional heavy cream and fresh coriander leaves. Let it rest for 10 minutes before serving for the flavors to meld.
Notes
- Tips & Tricks: For the best texture, pan-fry the paneer cubes in a little ghee until golden before adding them to the curry. It makes a huge difference! Also, don’t blend the tomato-onion mixture while it’s hot; letting it cool ensures the smoothest sauce.
- Serving Suggestions: This curry is perfect with warm naan, roti, or flaky parathas for scooping up every last drop. It’s also delicious with steamed basmati rice. A side of cool cucumber raita is a classic pairing.
- Storage & Reheating: Store leftovers in an airtight container in the fridge for up to 3 days—it honestly tastes even better the next day! Reheat gently on the stovetop. If it’s too thick, add a splash of water. Avoid the microwave, as it can make the paneer rubbery.
